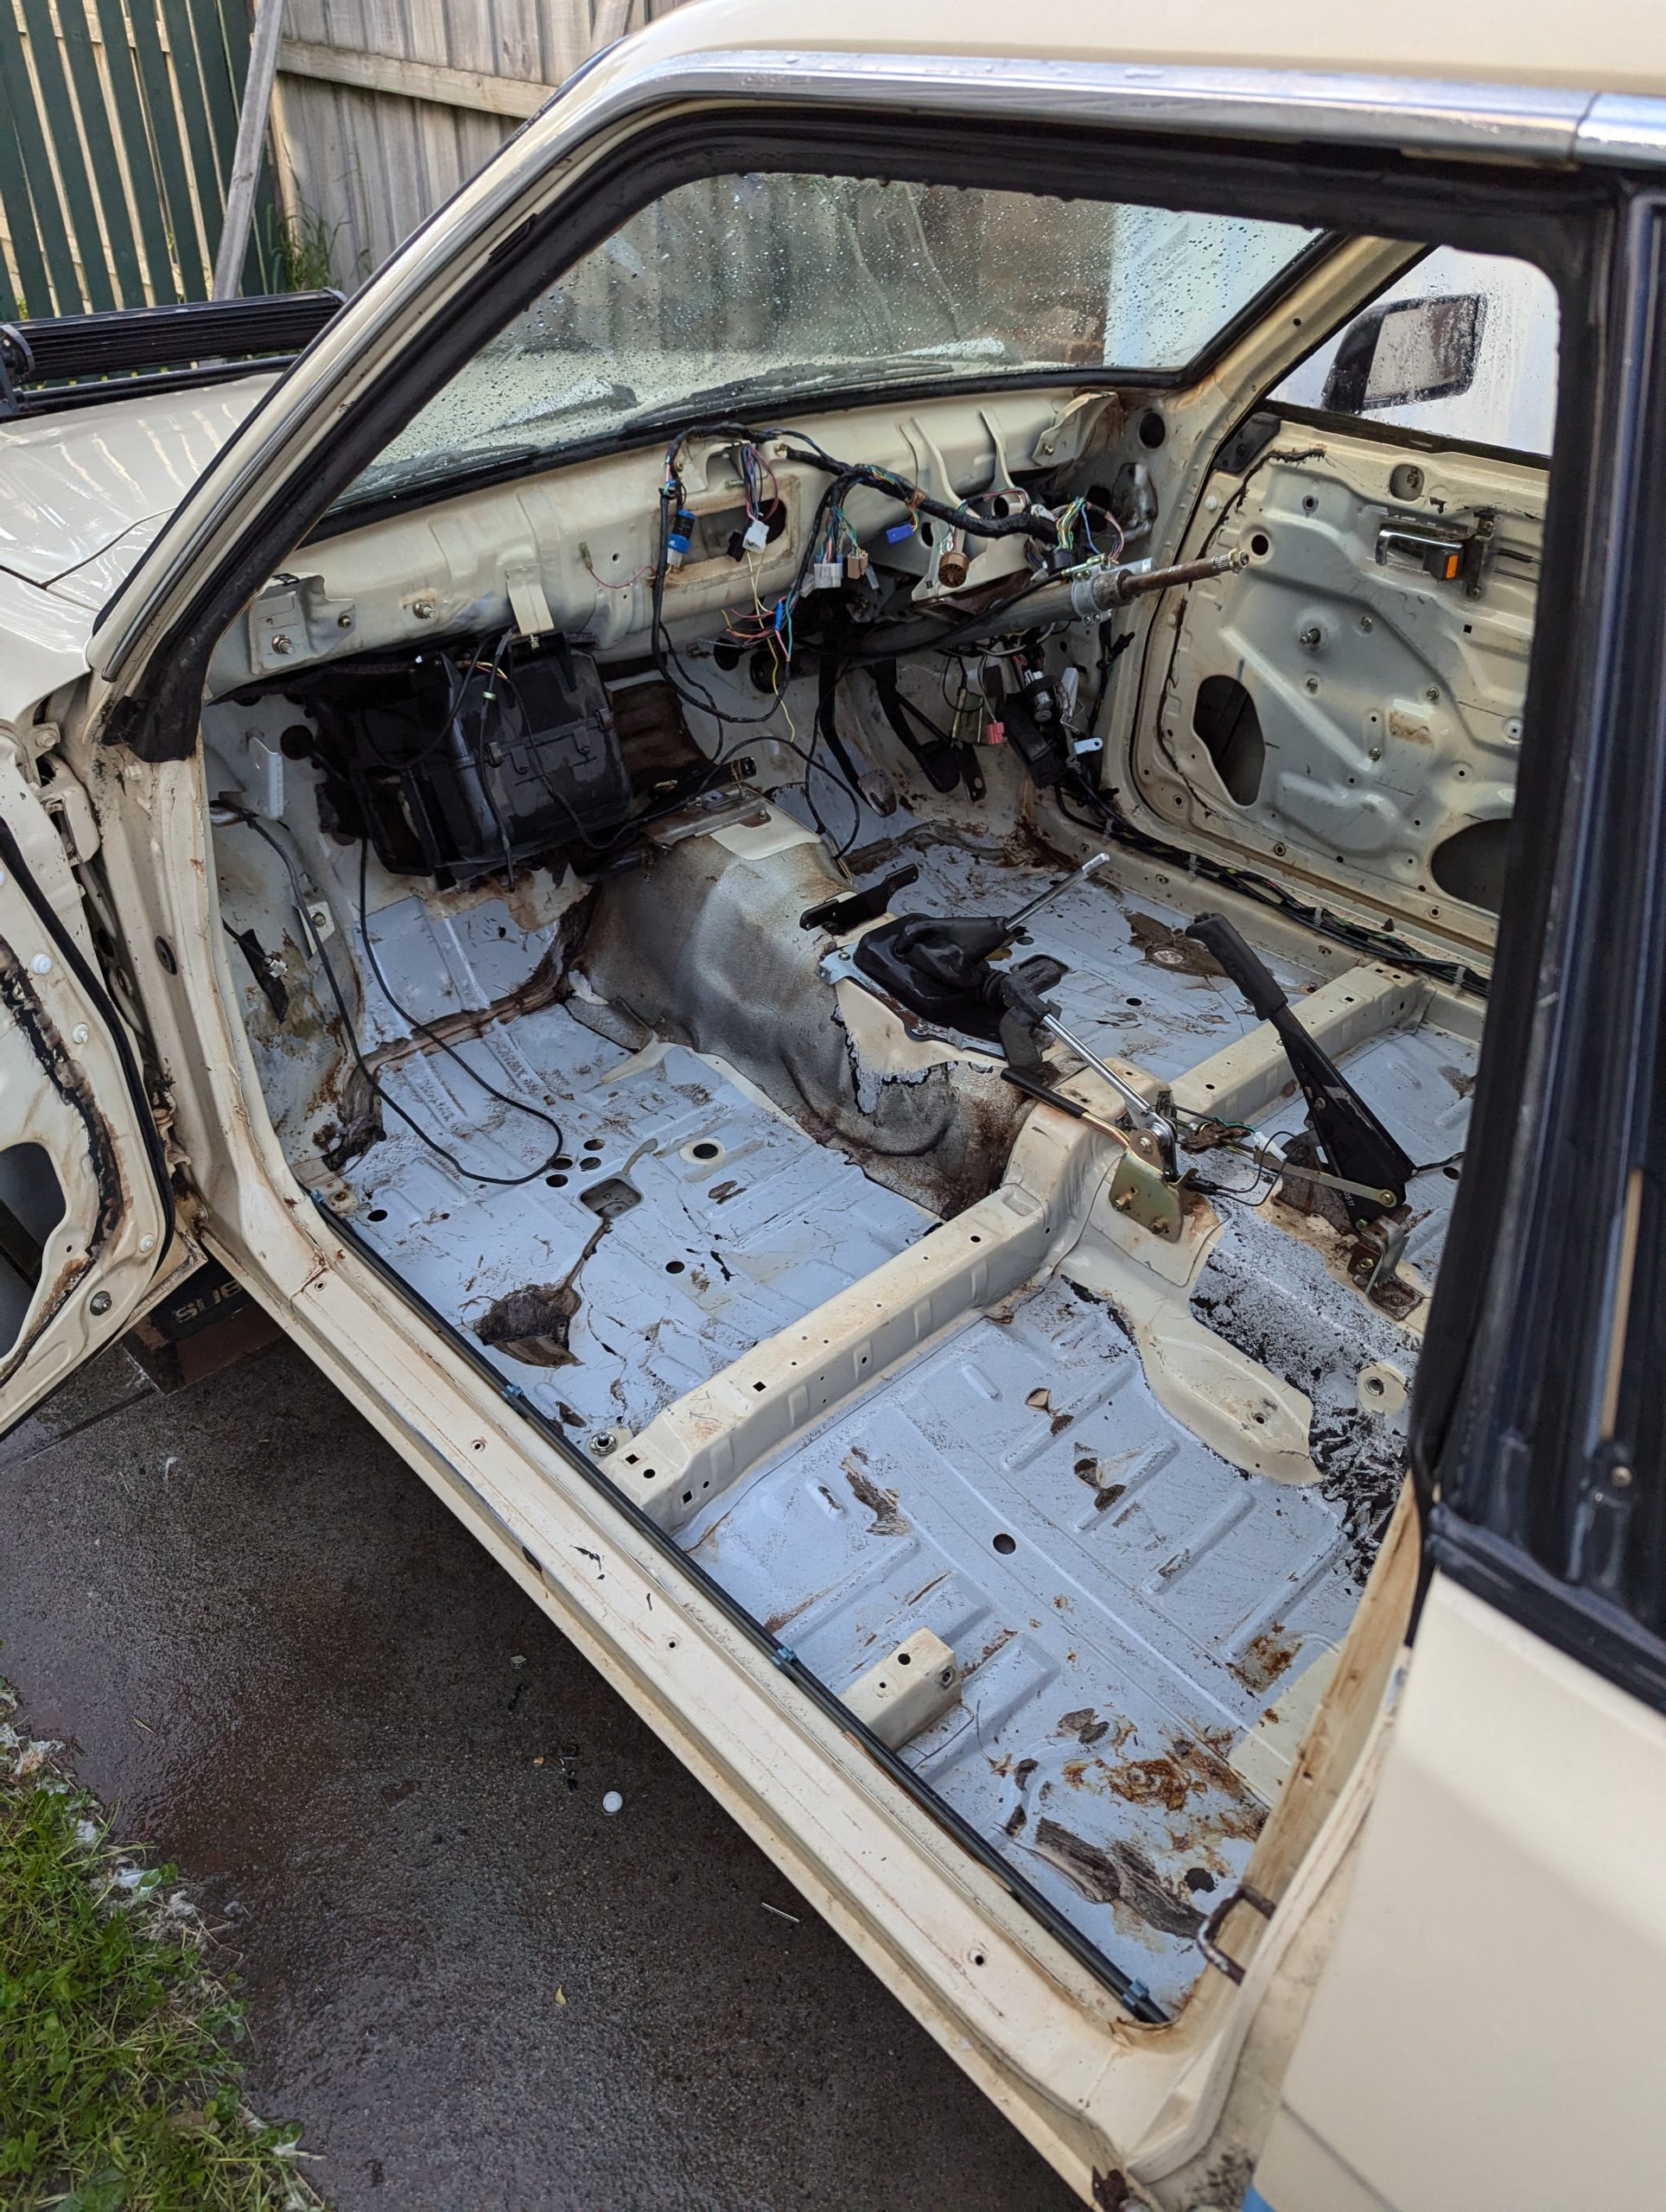
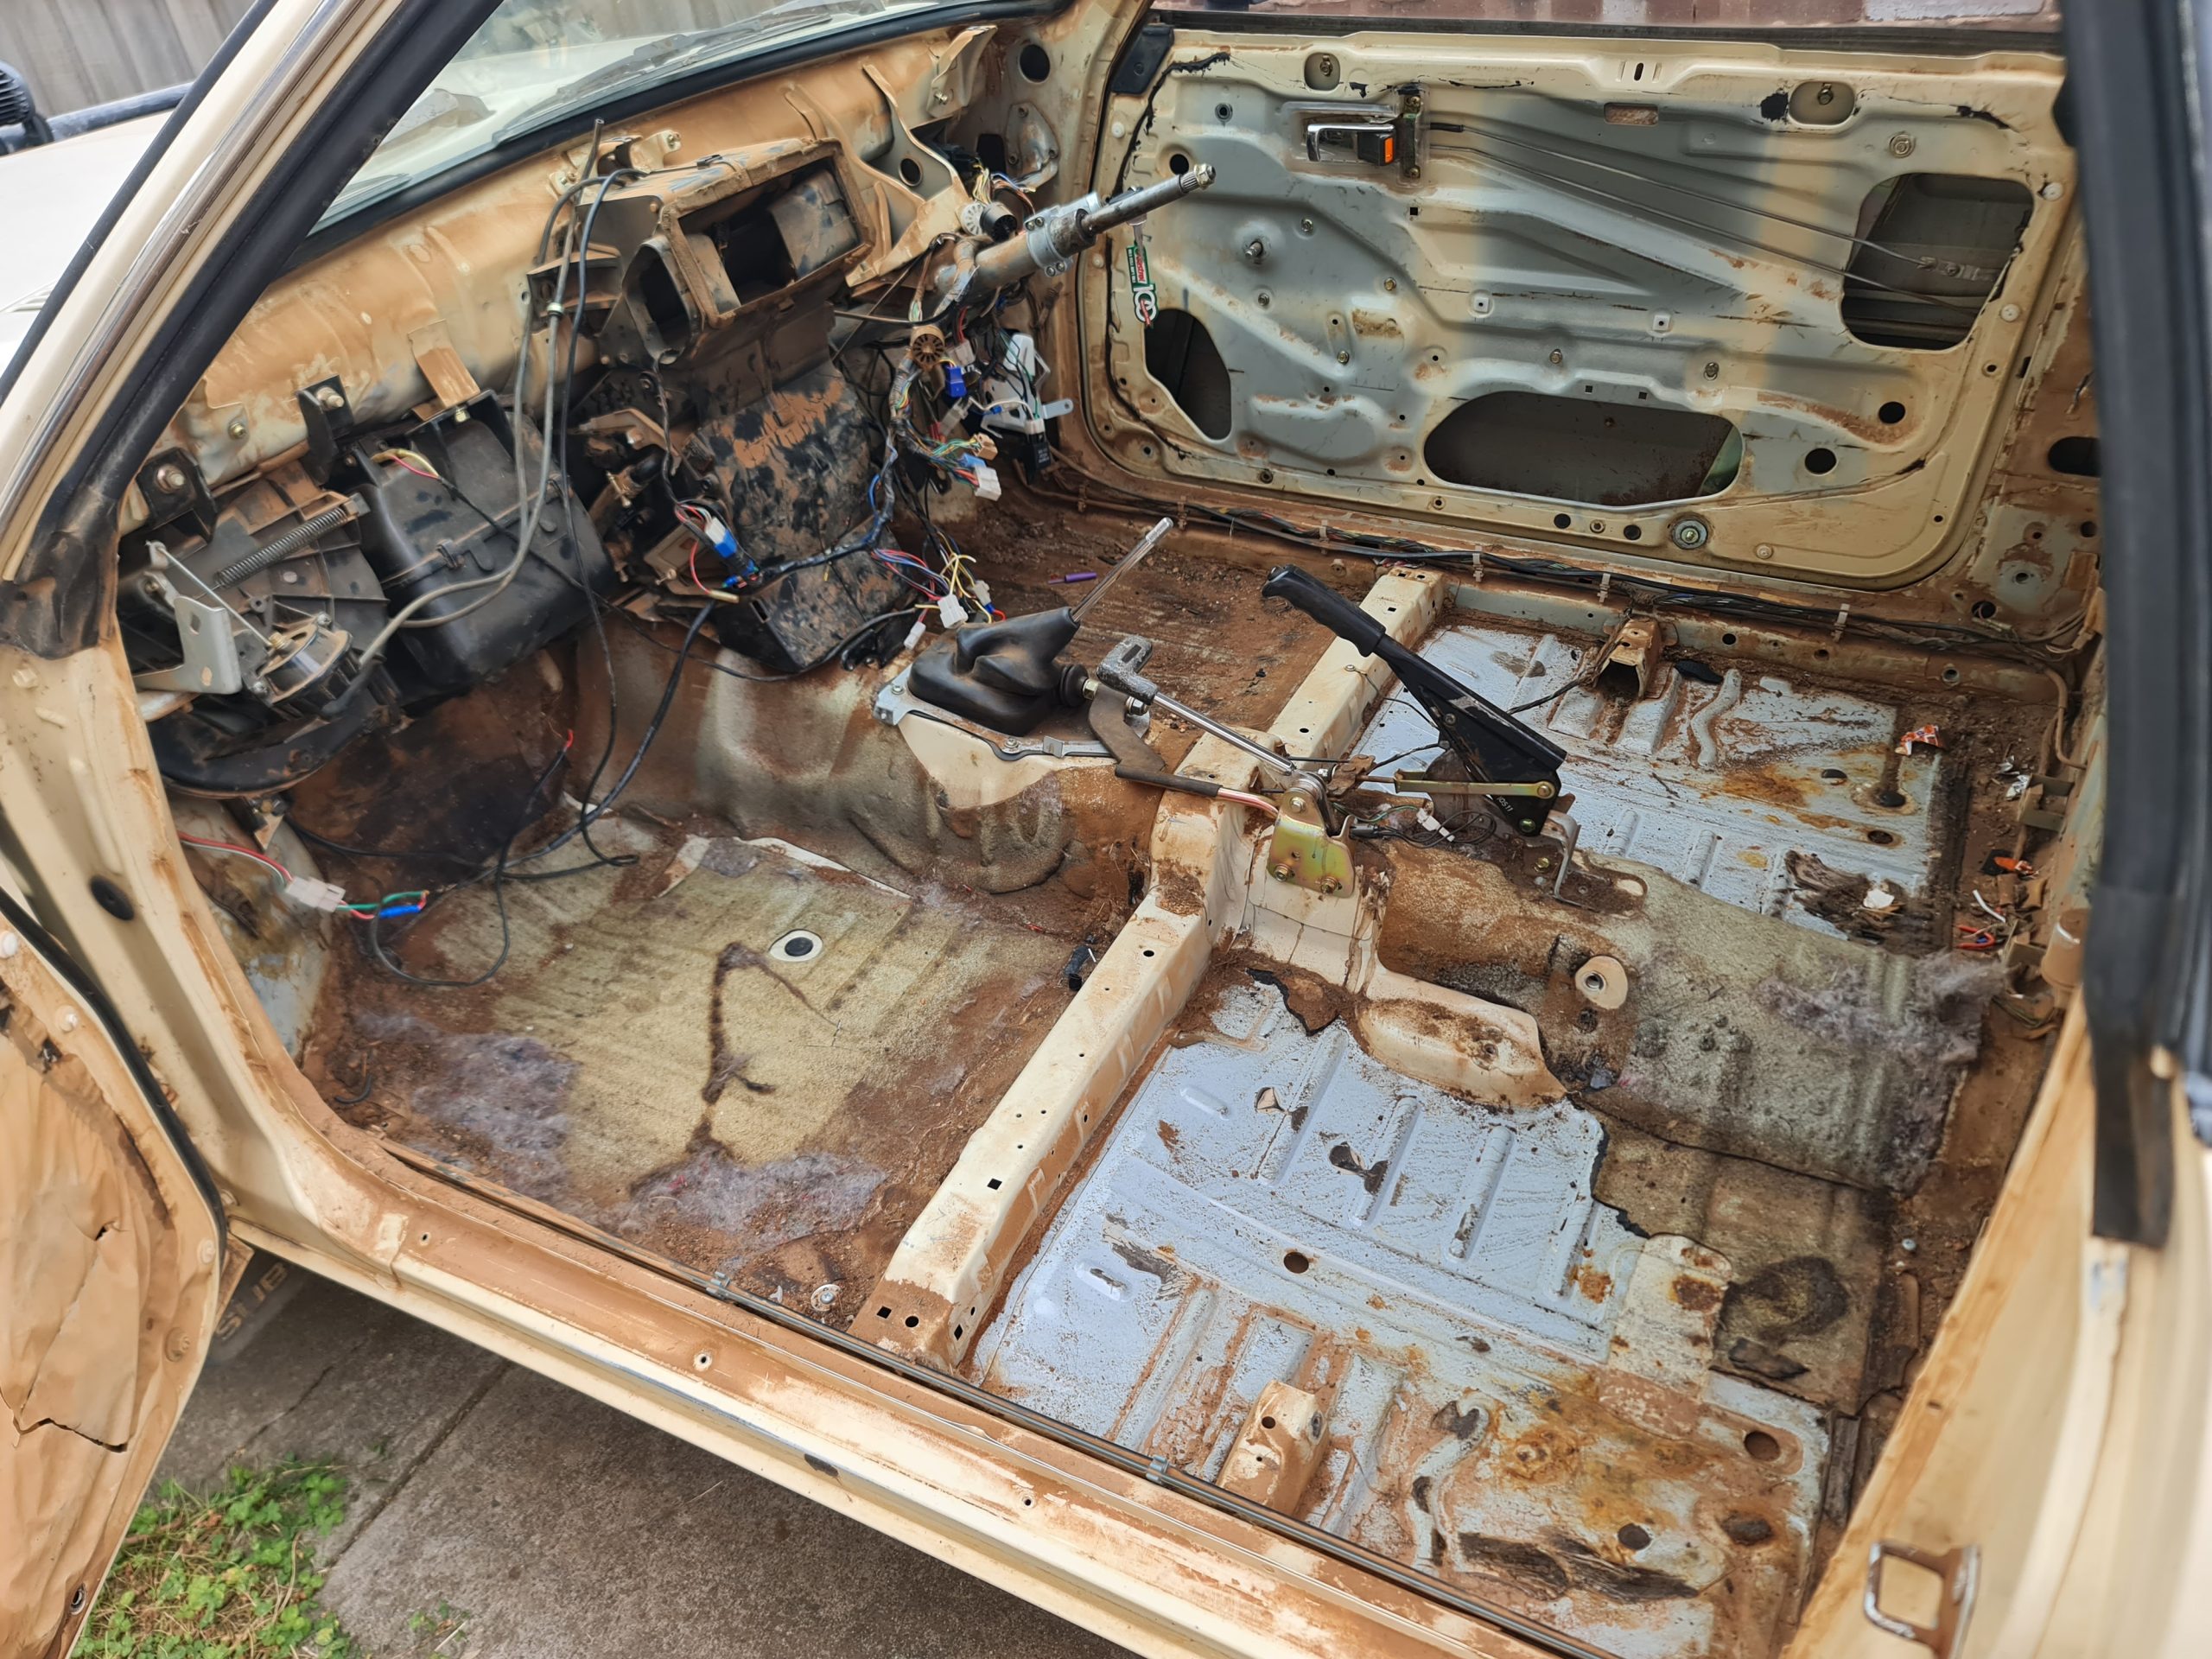
Back at it today with some detailed cleaning on the Brumby. I started by pressure washing the interior, focusing on removing all the grime and dirt that had built up over time. The difference was immediately noticeable.
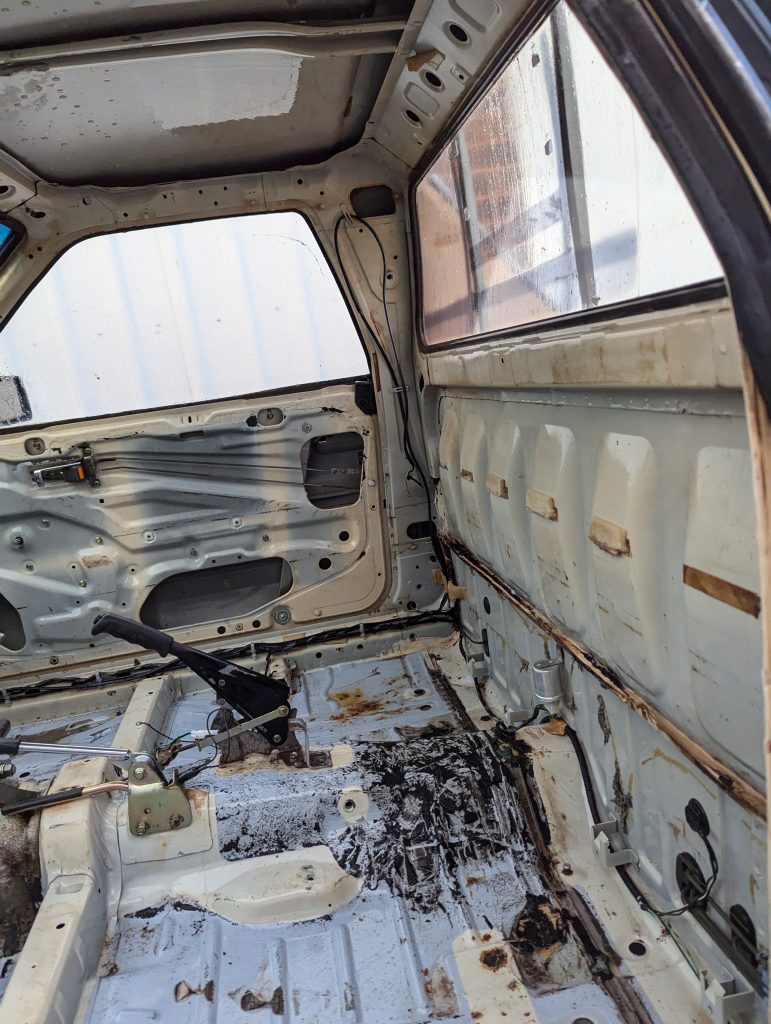
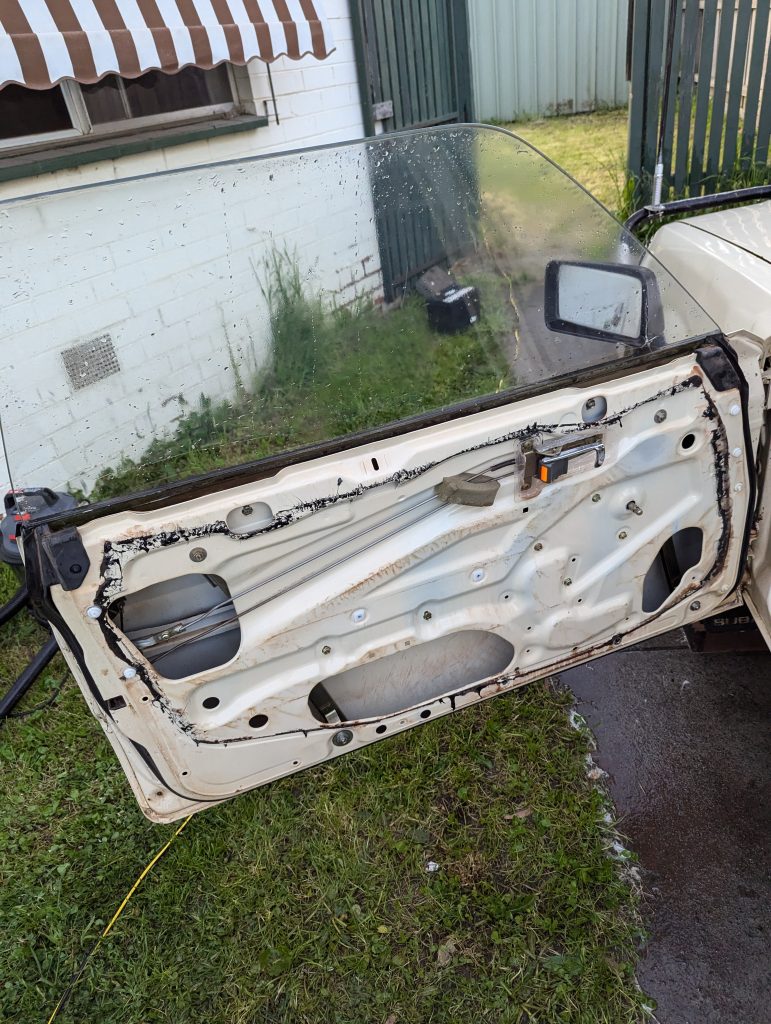
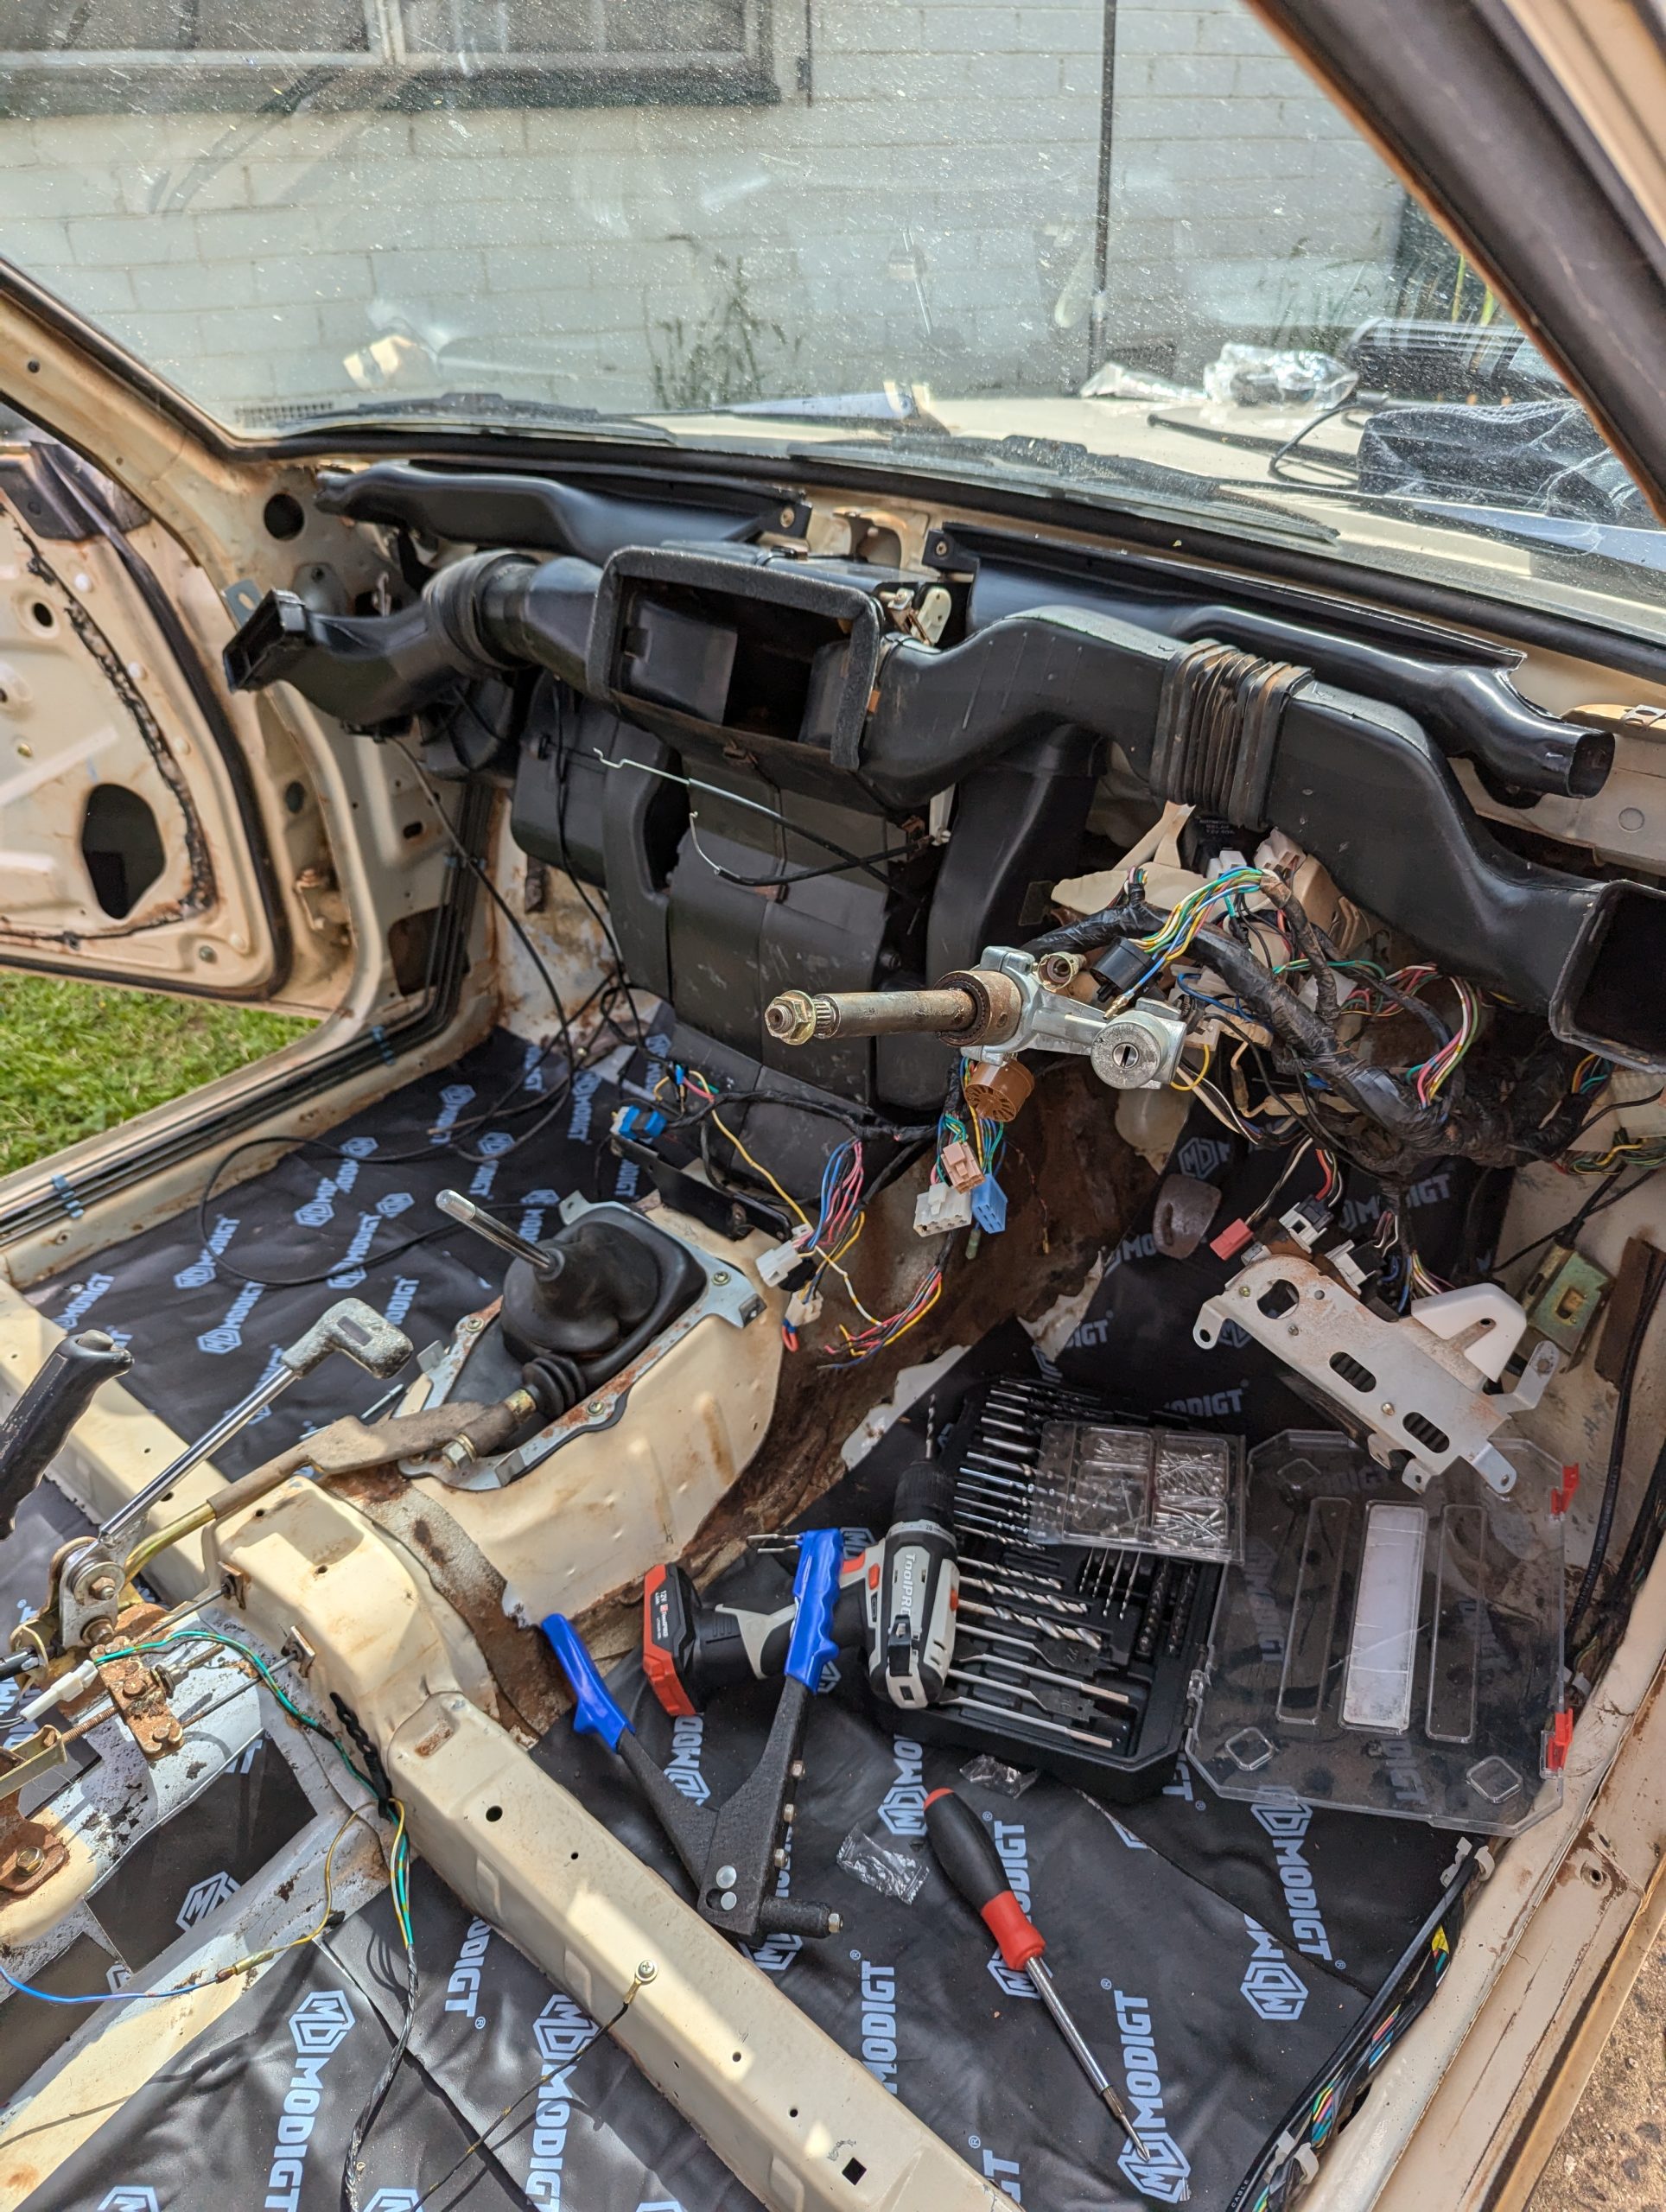
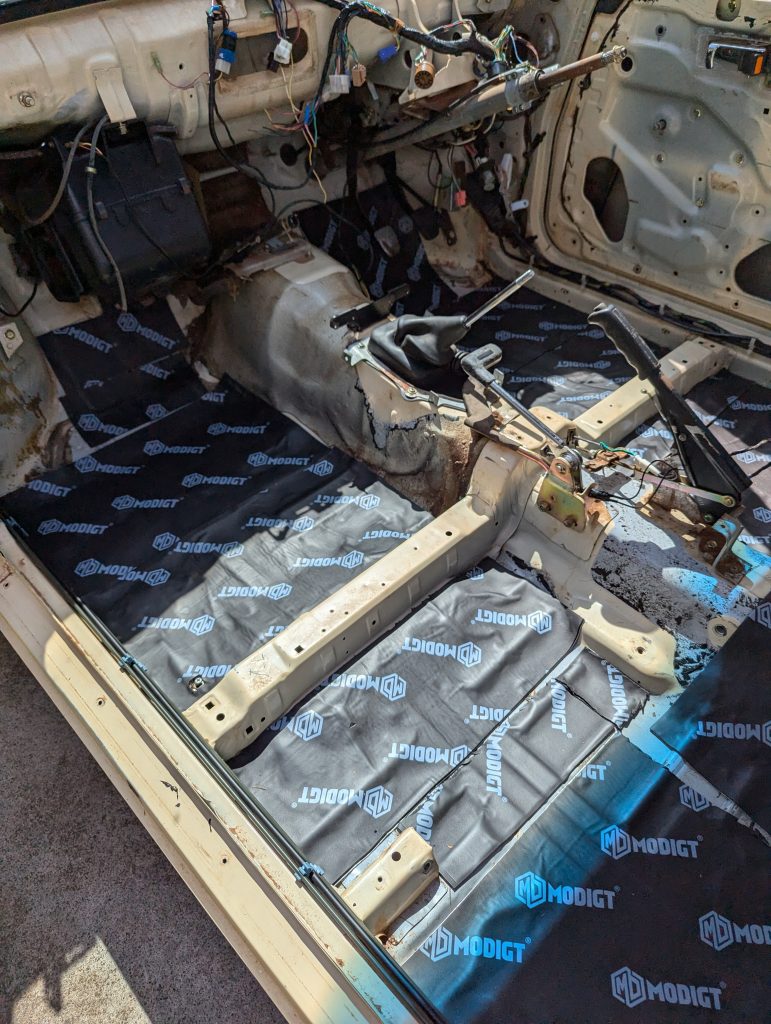
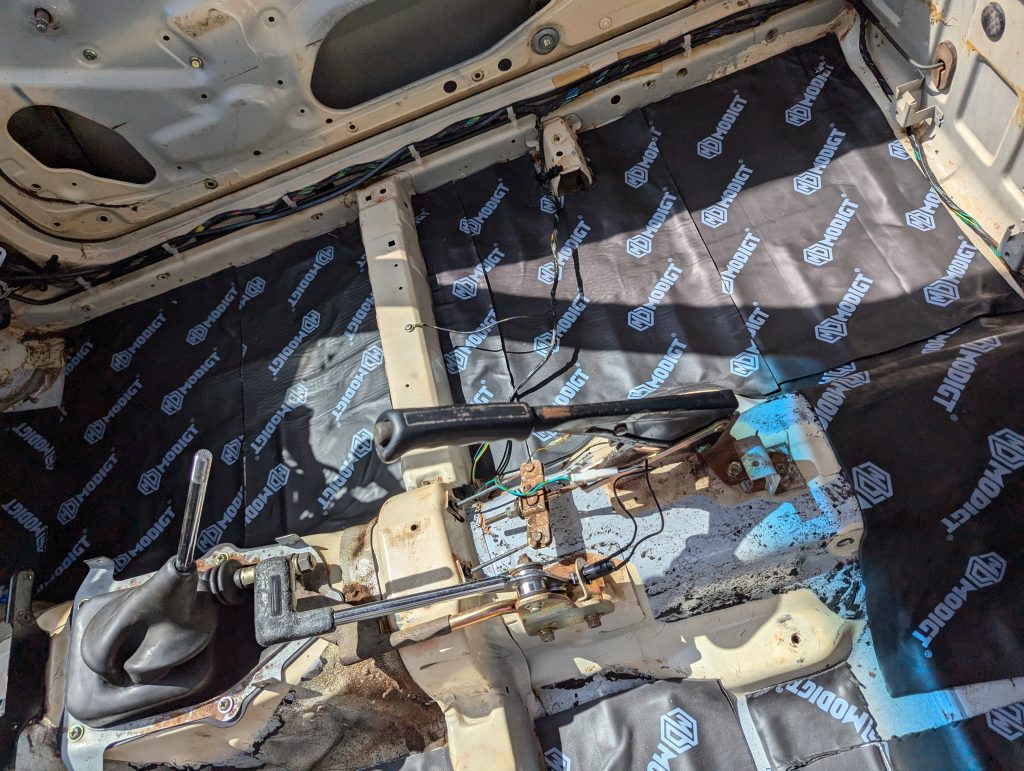
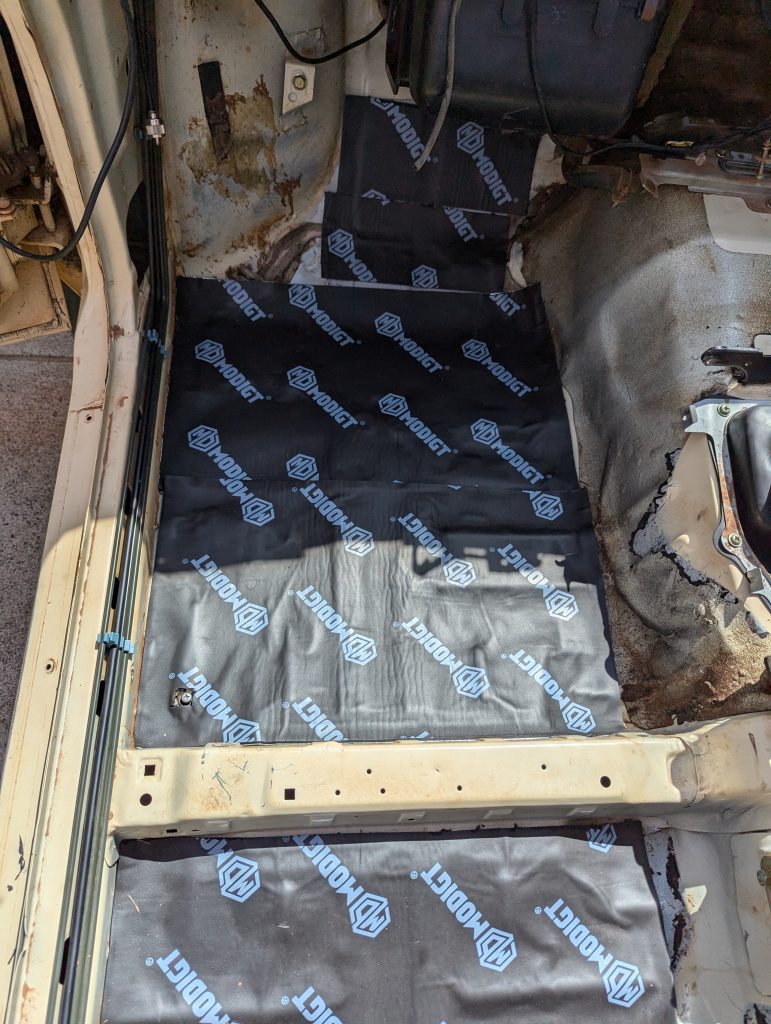
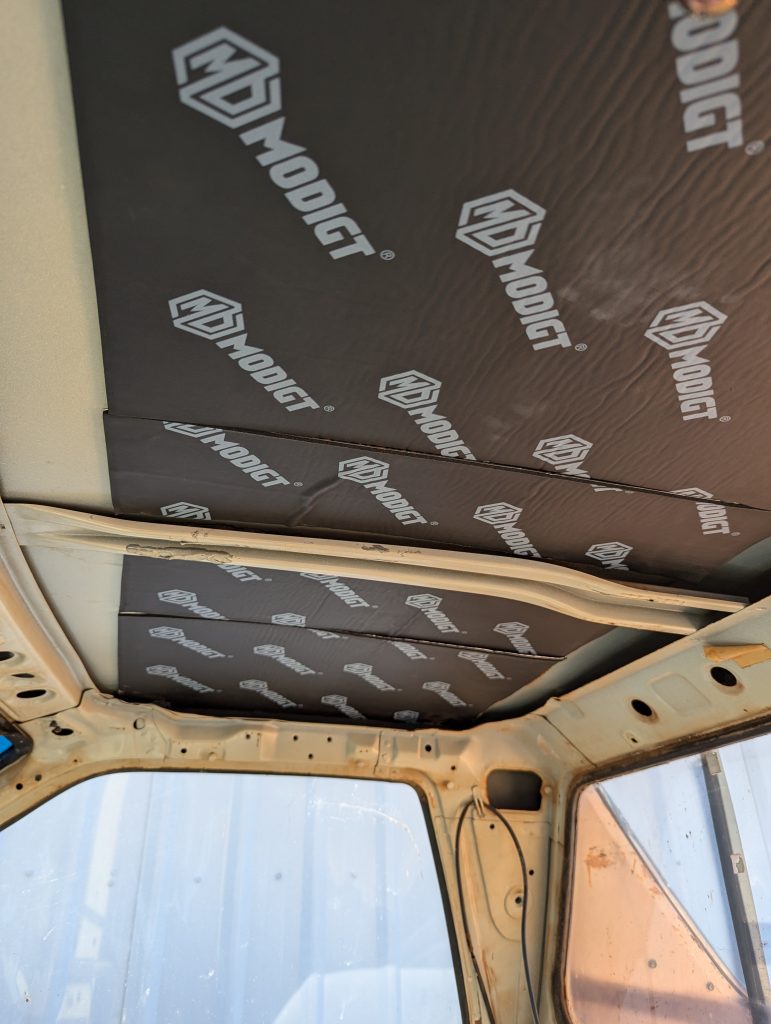
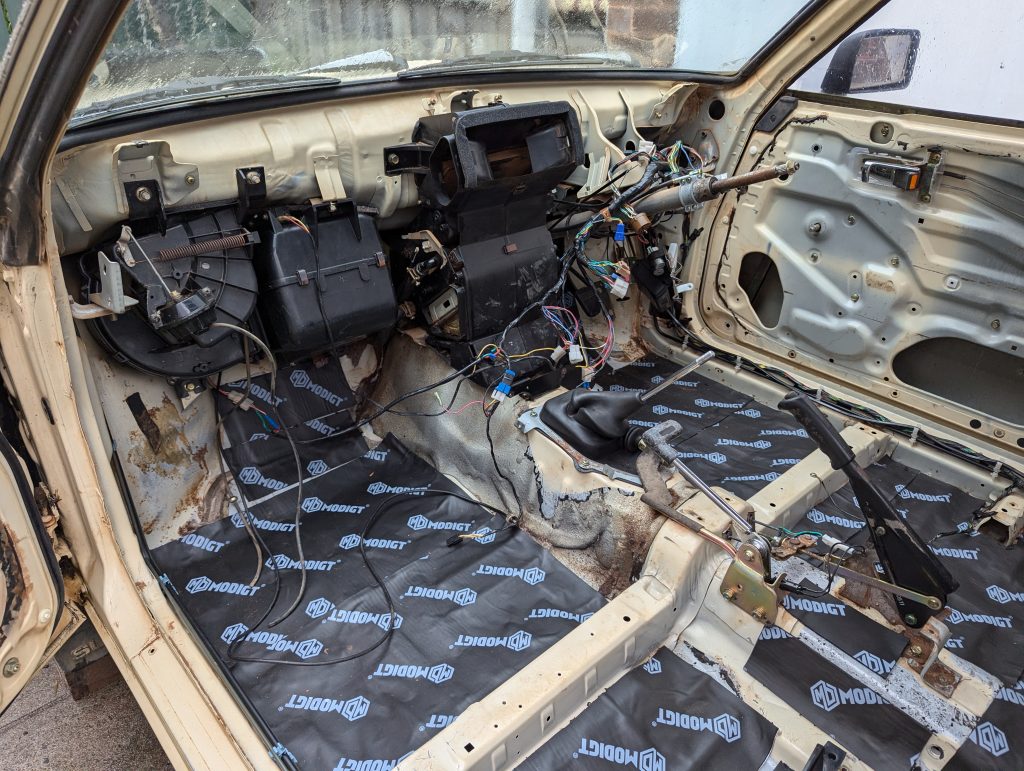
Next, I tackled the remaining dust and laid down new insulation sheets. This step is crucial not only for maintaining a comfortable temperature inside the vehicle but also for combating noise in the cabin.
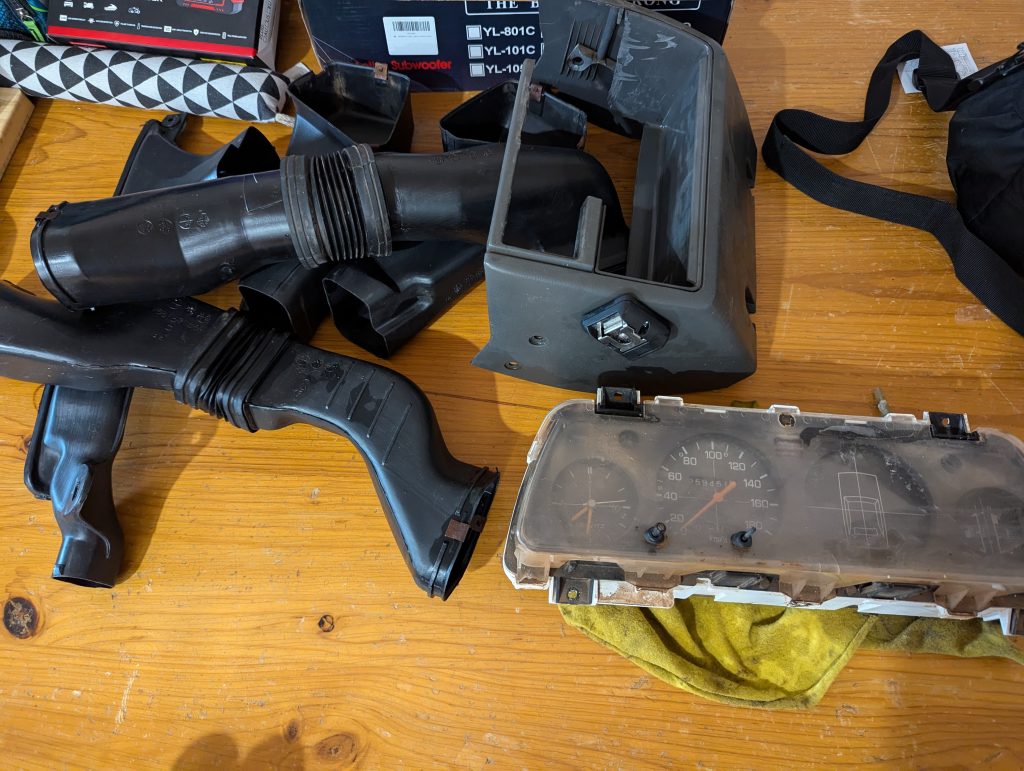
With the interior spotless, it was time to move on to the heat exchanger and climate control fan. I soaked them in degreaser to remove any built-up residue and replaced the aging, disintegrating foam.

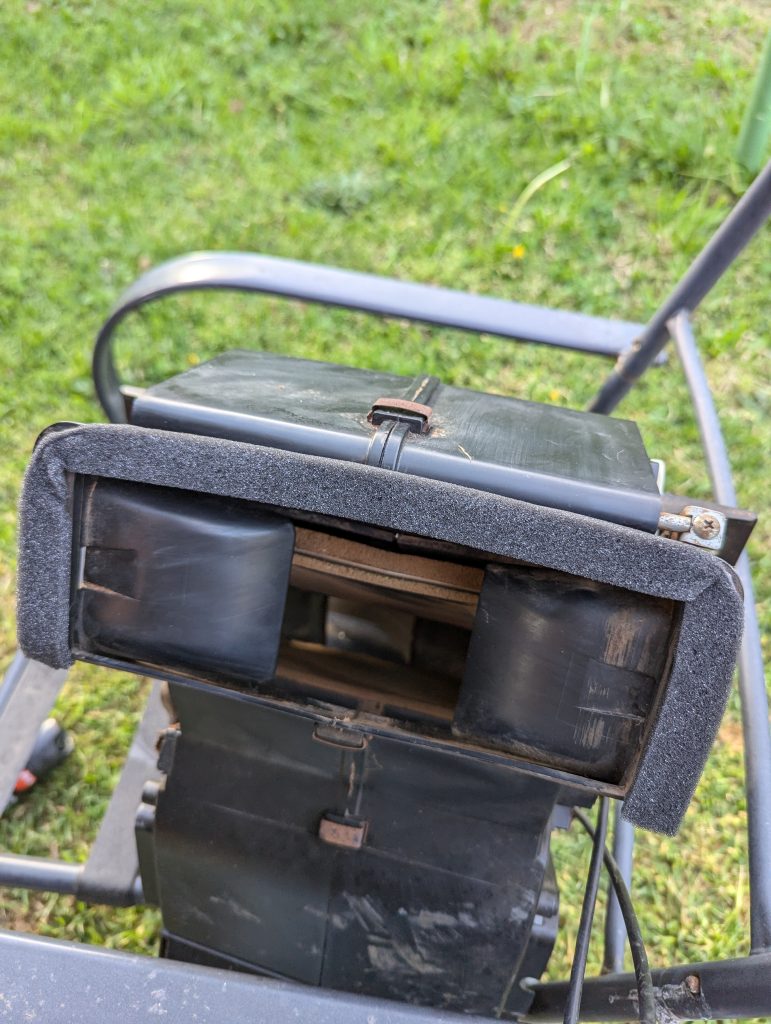
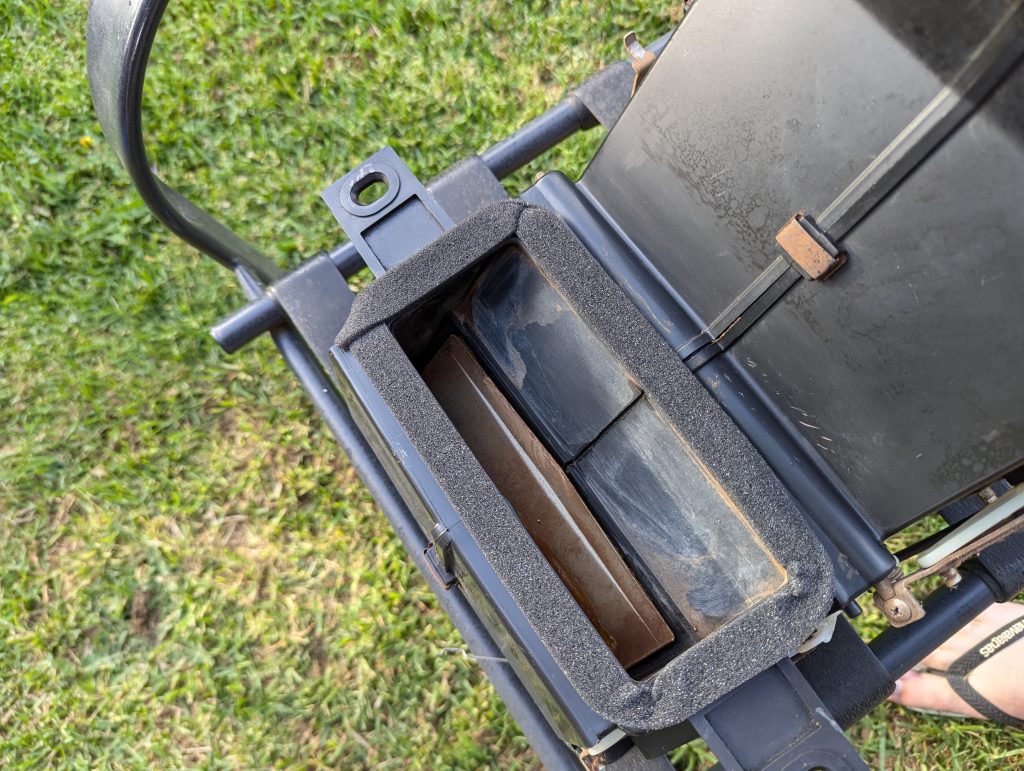
I also cleaned up the air vents in the same way, although these will be installed at a later date.
After everything was cleaned and prepped, I reinstalled the heat exchanger and climate control fan back into the Brumby. The new foam should help improve efficiency and longevity.
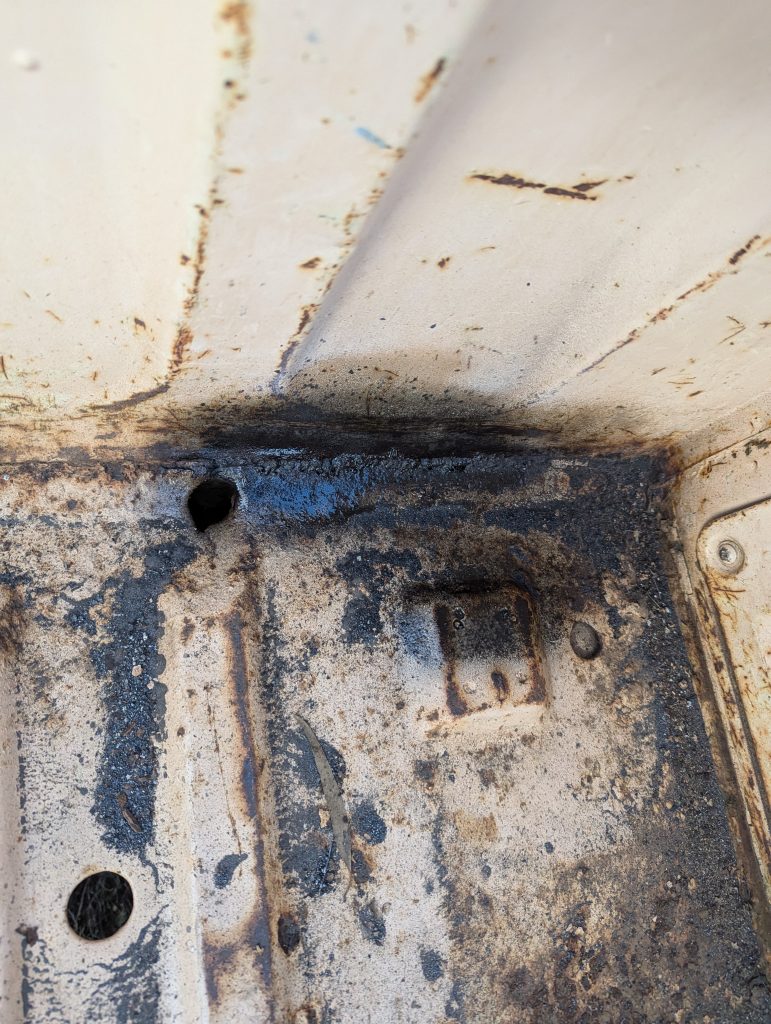
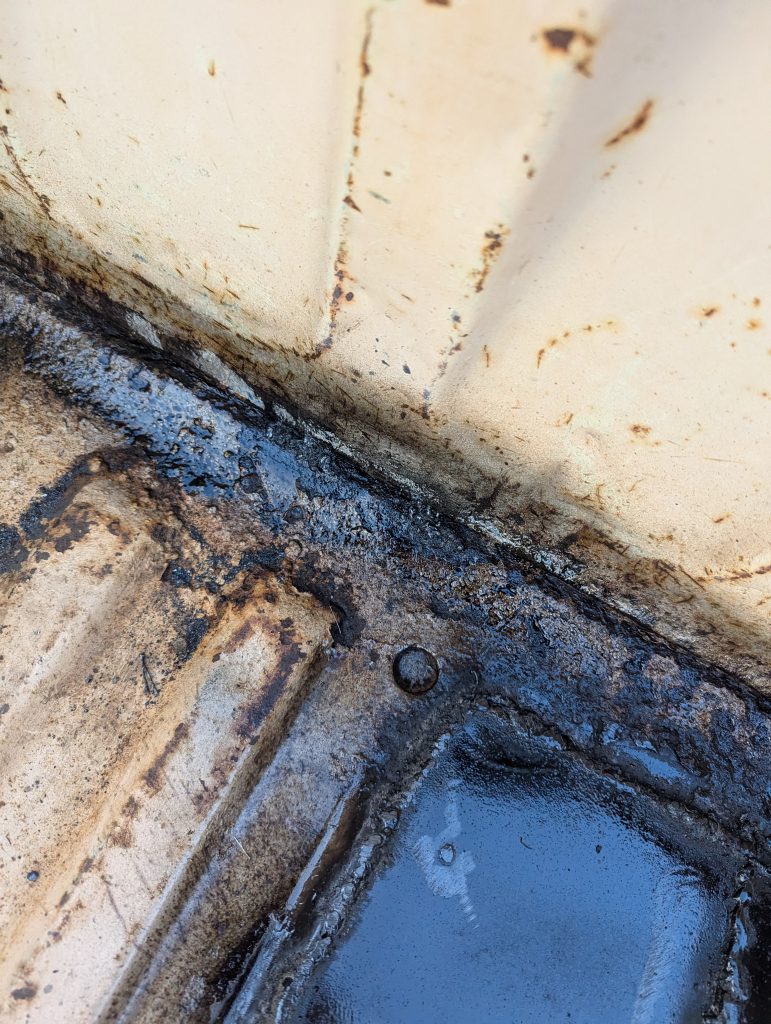
Not to mention from the last update I have also started welding in some plates to the tray of the brumby to cover the holes from the rust, as well as I have welded the broken steel from the tray back to the back wall so the tray does not flex anymore.

Next Steps:
- Reinstall the rest of the climate control system.
- Clean and reupholster the dash with some suede, then install it.
- Install the new alarm system with central locking.
- Re-seal the doors and fix the aging door cards
- Wire in the second battery.
- Connect the new sound system with subwoofer, and new fuse box to run this new equipment.
- Install the rear-facing 12V LED lights.
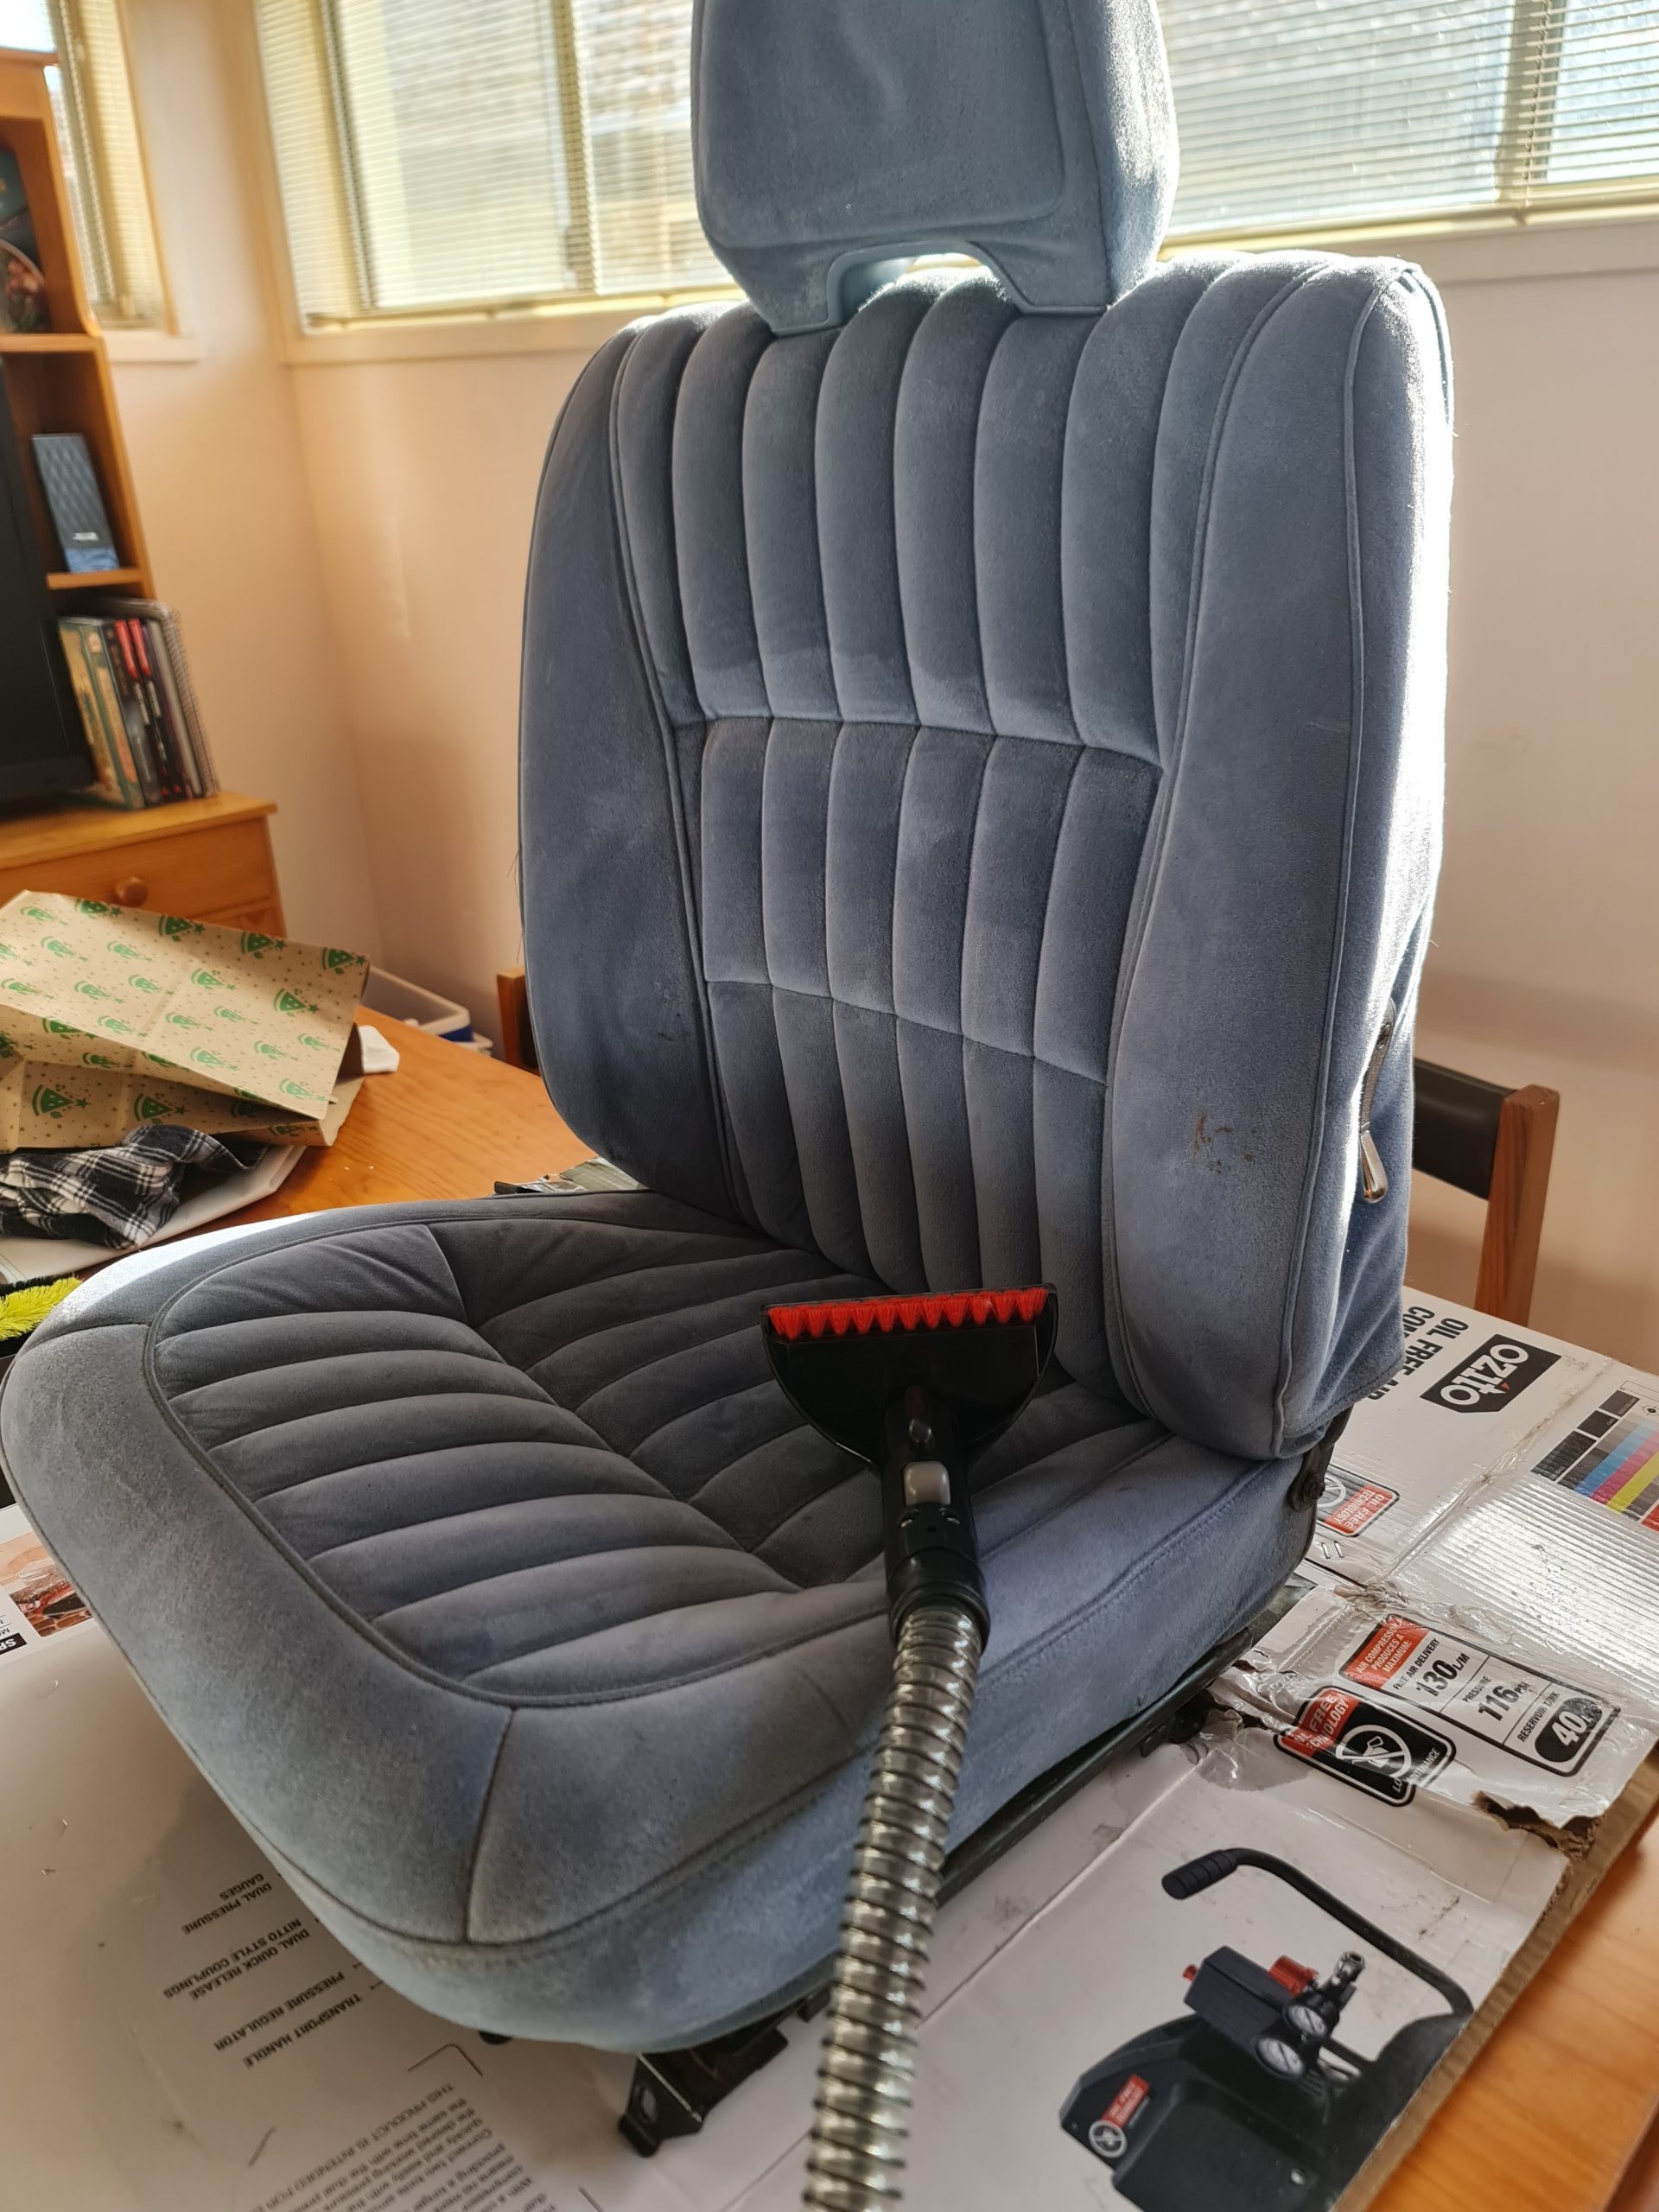
- Lay in the new carpet along with the repainted and reupholstered rest of the interior.
- Fix the broken side mirror
- Tint the windows
- Fix the last rust hole in the tray
- Fix the sloppy shifter
