It has been a while since my last update on the Brumby, but a lot has happened during that time.
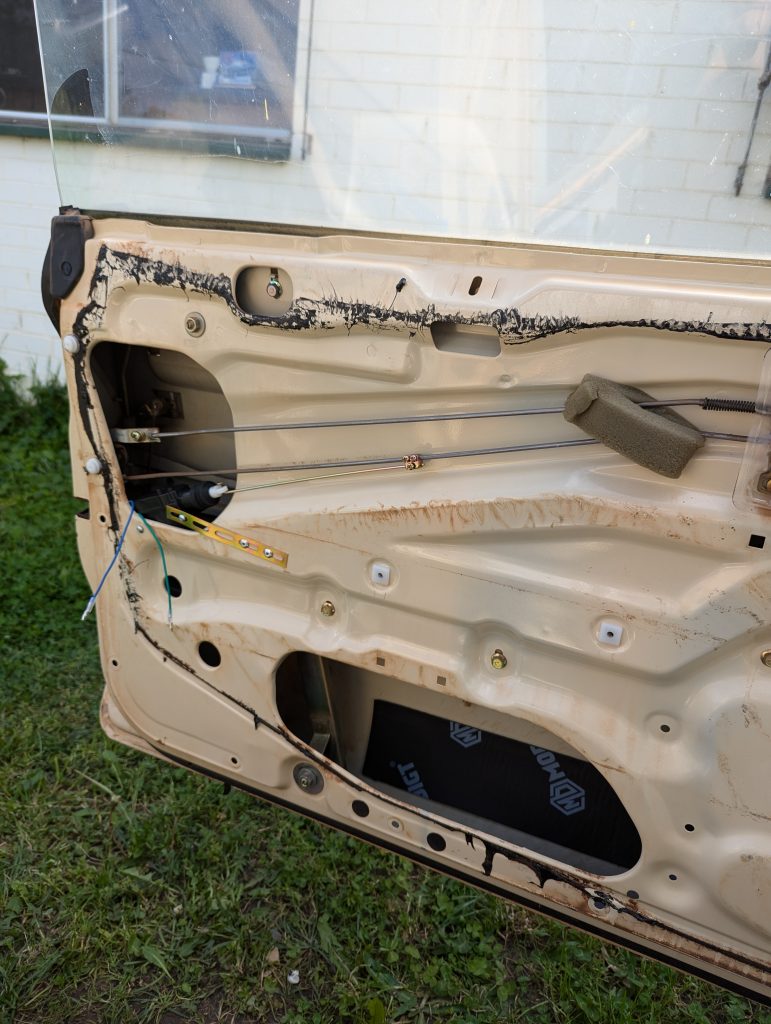
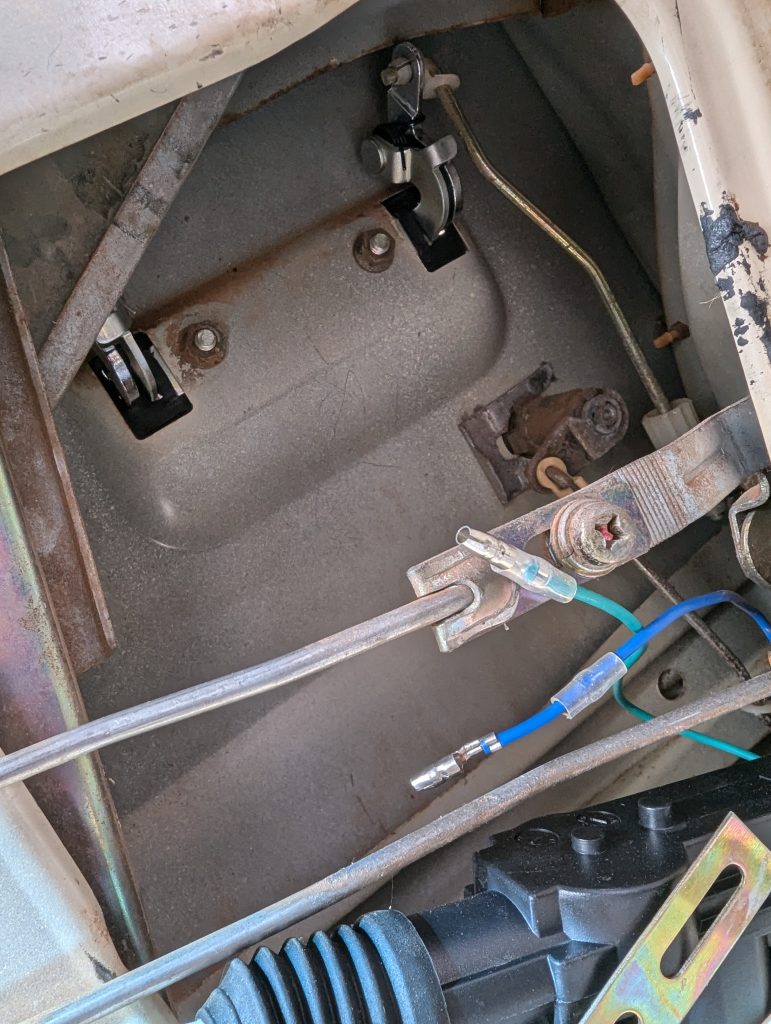
First of all I have finished assembling the completed aircon vents that were cleaned from when it was disassembled. I have also have installed 2 door actuator locks, these were installed by riveting the bracket in to the door and then drilling a hole and screwing it on from the other side, then the actuator is attached to the door lock cable by a grub screw adaptor.
The windows were adjusted back to be flush with the rubber seals so that water will no leak in to the doors again and cause water damage.
I also replaced the broken door handle on the drivers side as it was corroded and snapped.
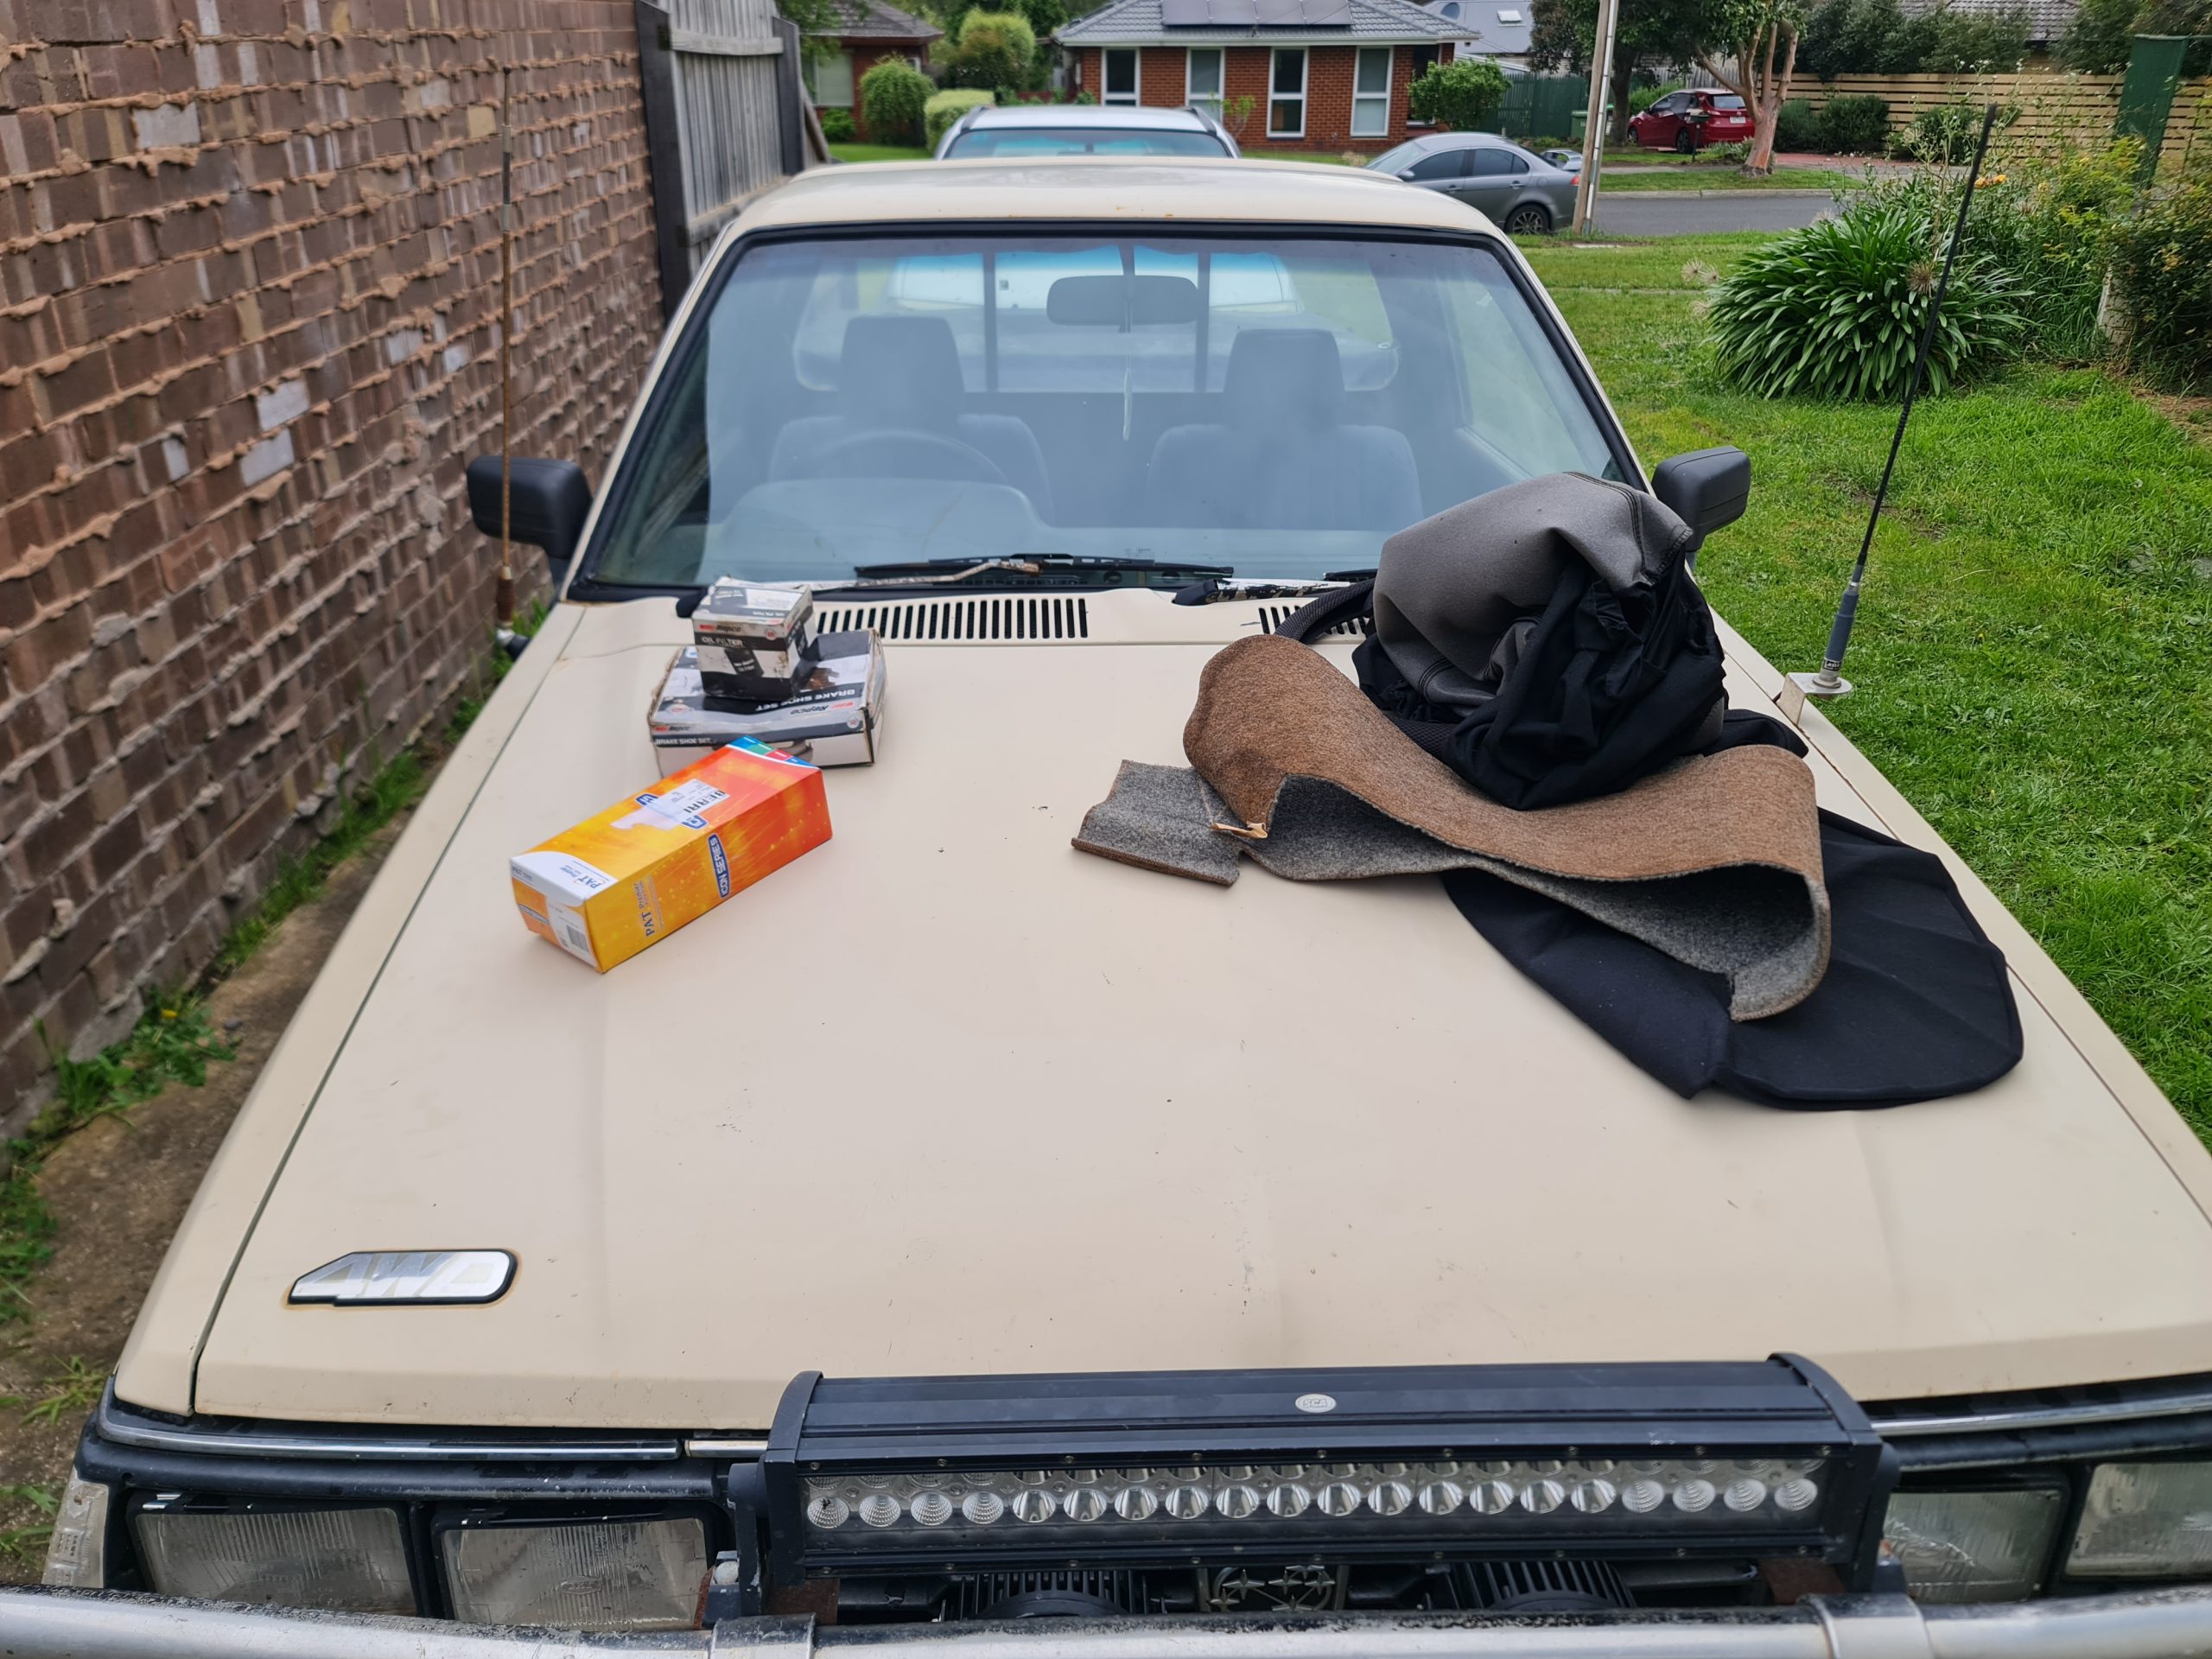
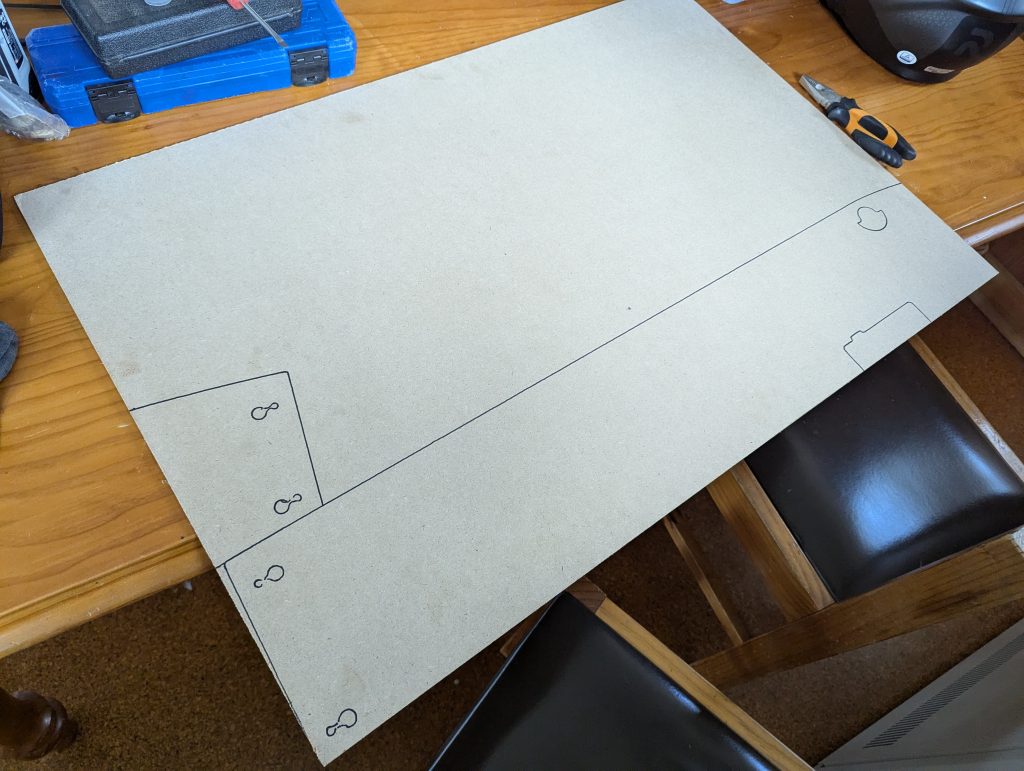
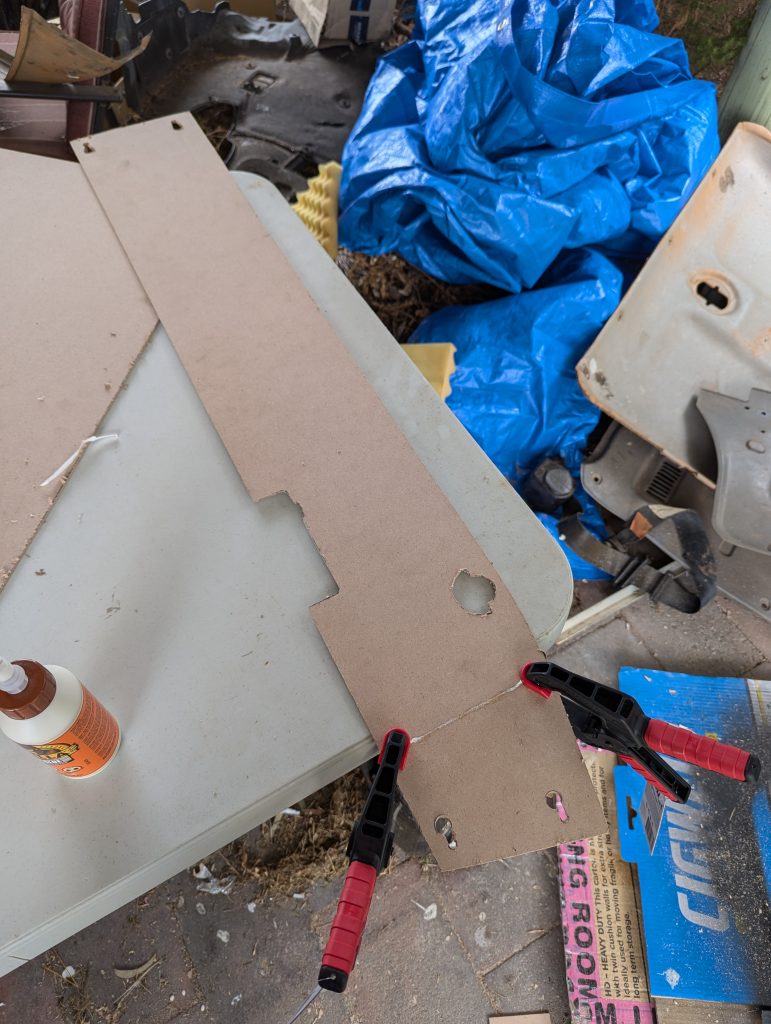
Next up was making some new door cards as they had deteriorated when water was leaking through the doors, to do this I started by taking the ok door card and tracing it out on MDF, I then cut it with a Jigsaw and glued it together, from there I layered the door with household door sealing foam, after that I wrapped it in faux suede.
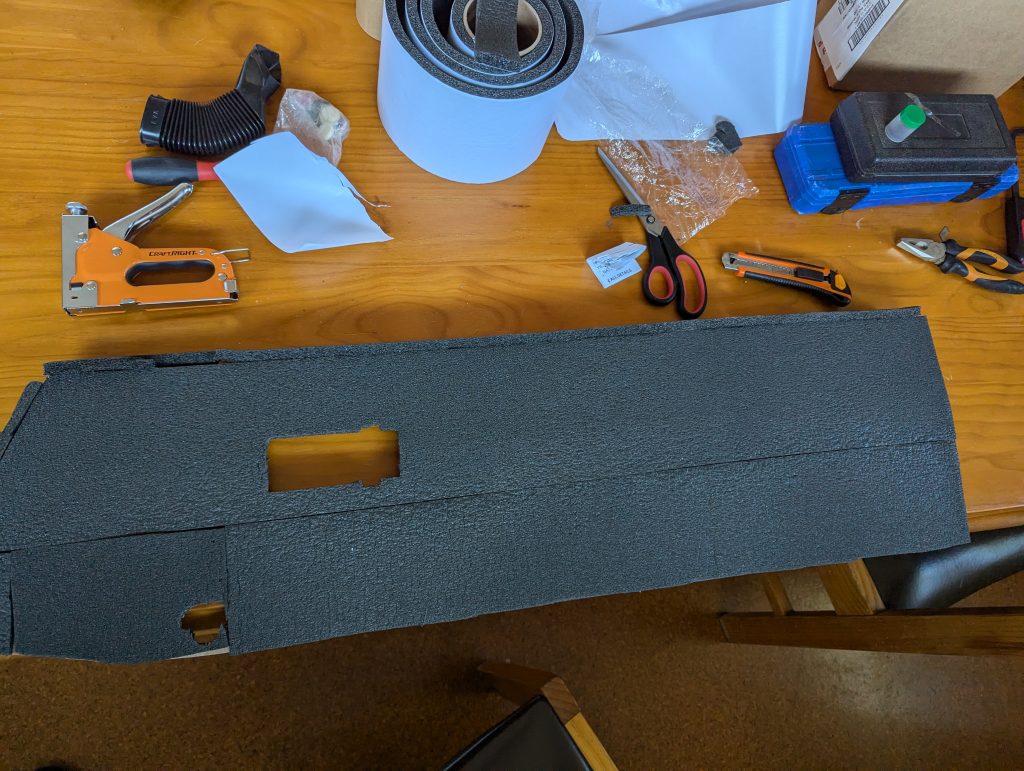
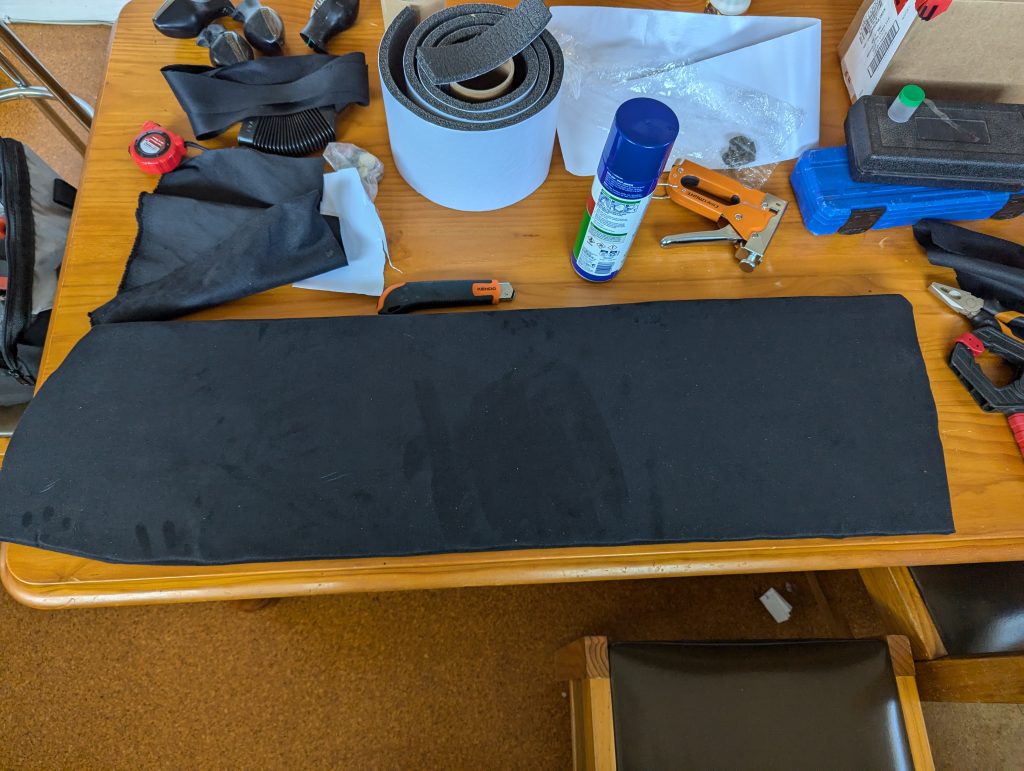
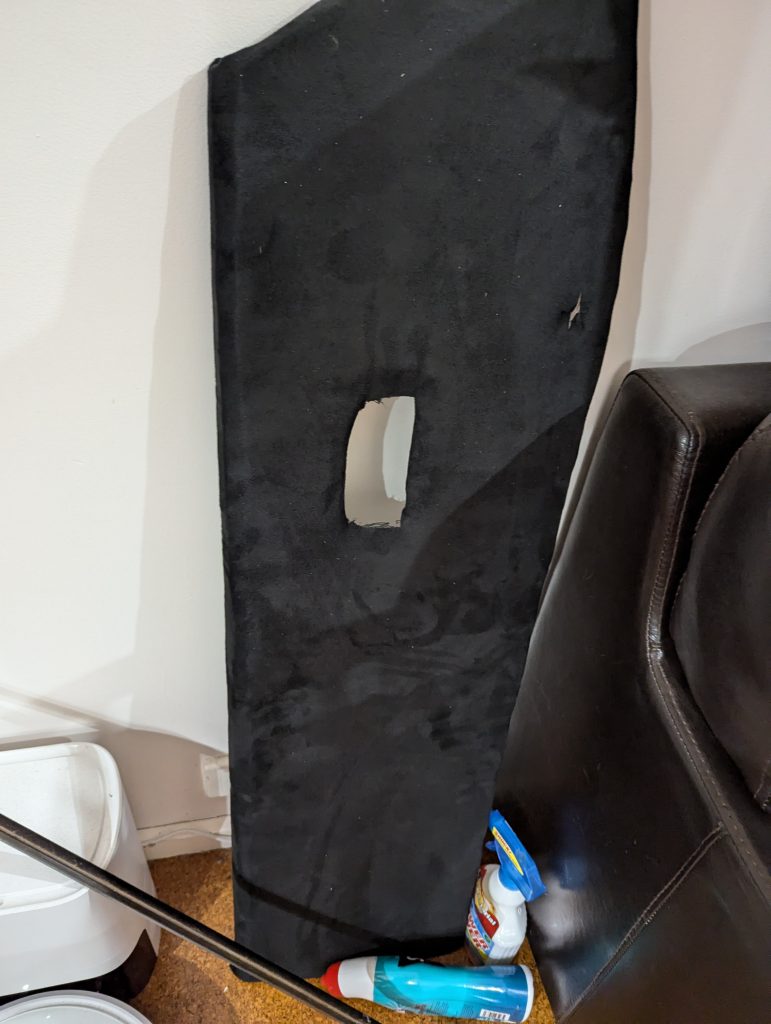
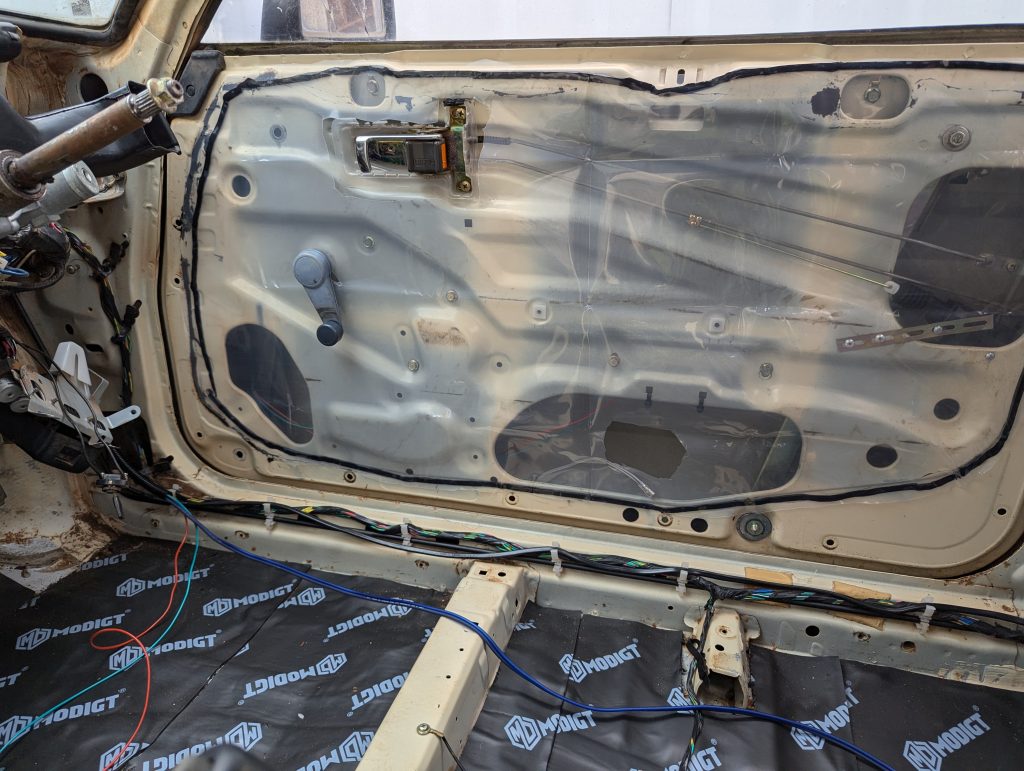
Before I could install the newly painted bottom and re-upholstered top cards, I needed to run wires for the new speakers and door locks, I got those ran and protected them with some cable sheathing, after that was done, I used the door plastic repair kit to re-line the door.
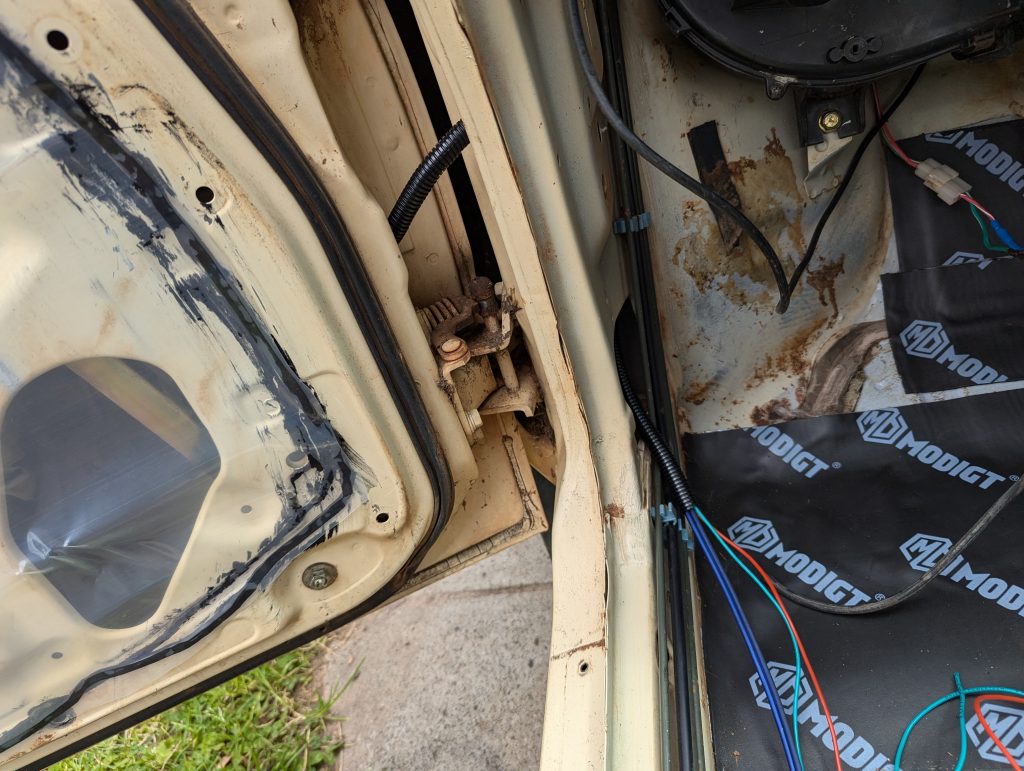
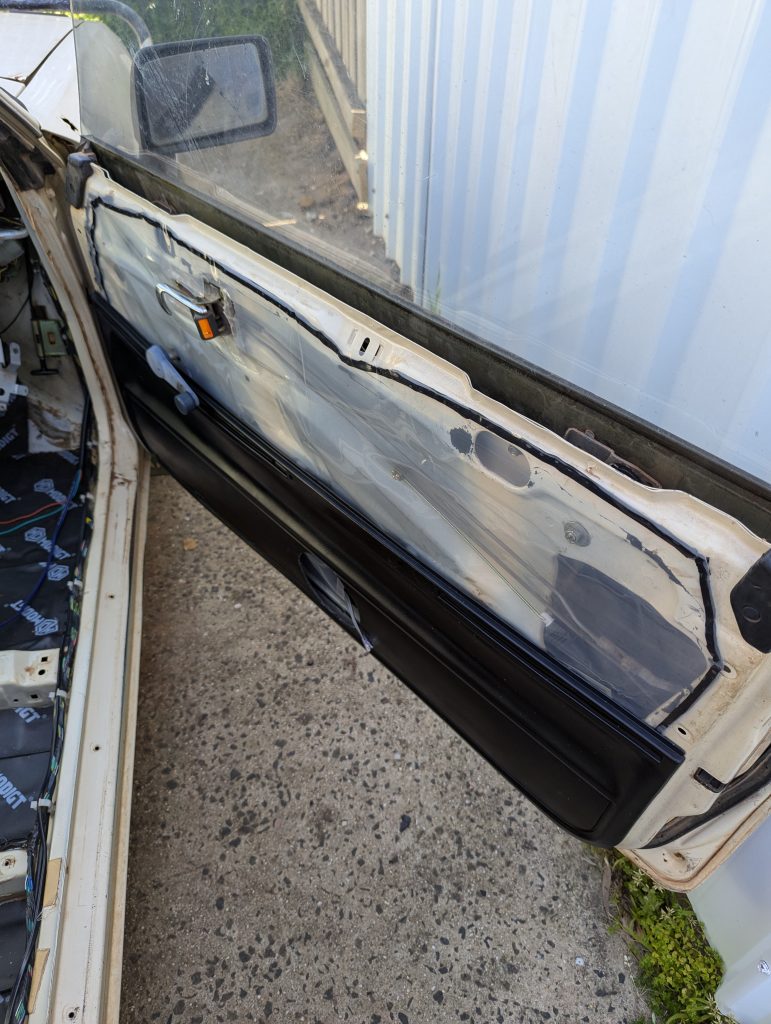
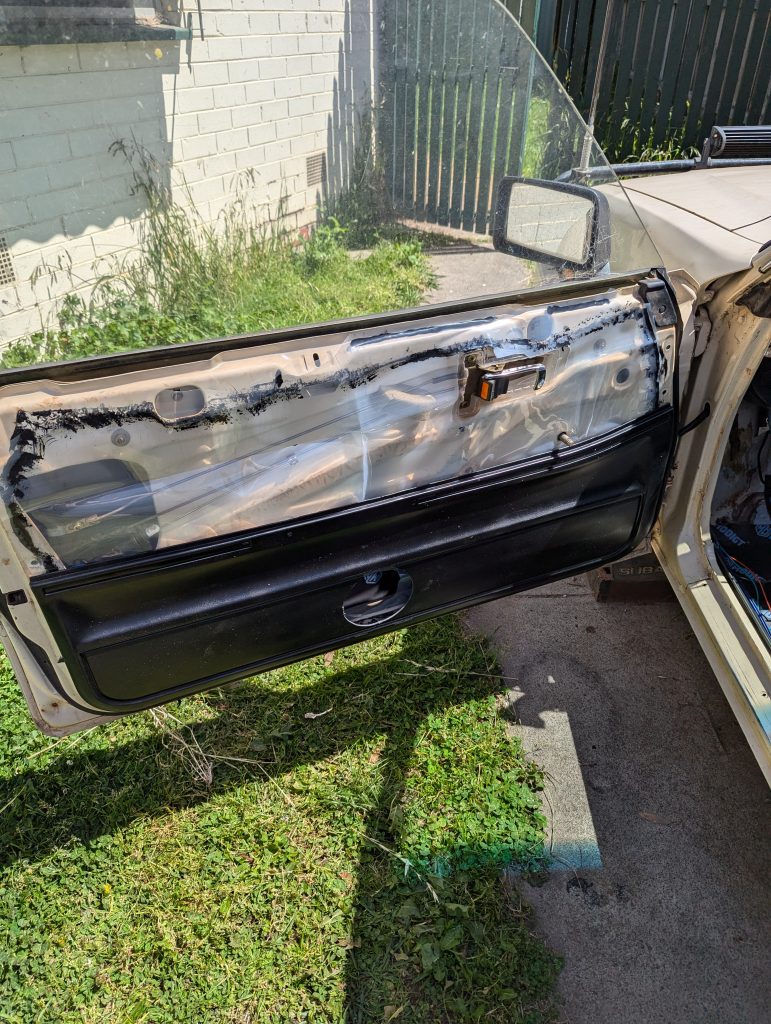
I then took the old door cards and cleaned them with degreaser, then I applied plastic primer and after that was able to paint the doors back with rustoleum plastic paint. I then replaced the plastic retaining clips as all the old ones were broken and cut out the door speaker holes to accept the 6.5′ speakers.
After the bottom door trims were completed I installed them in the car
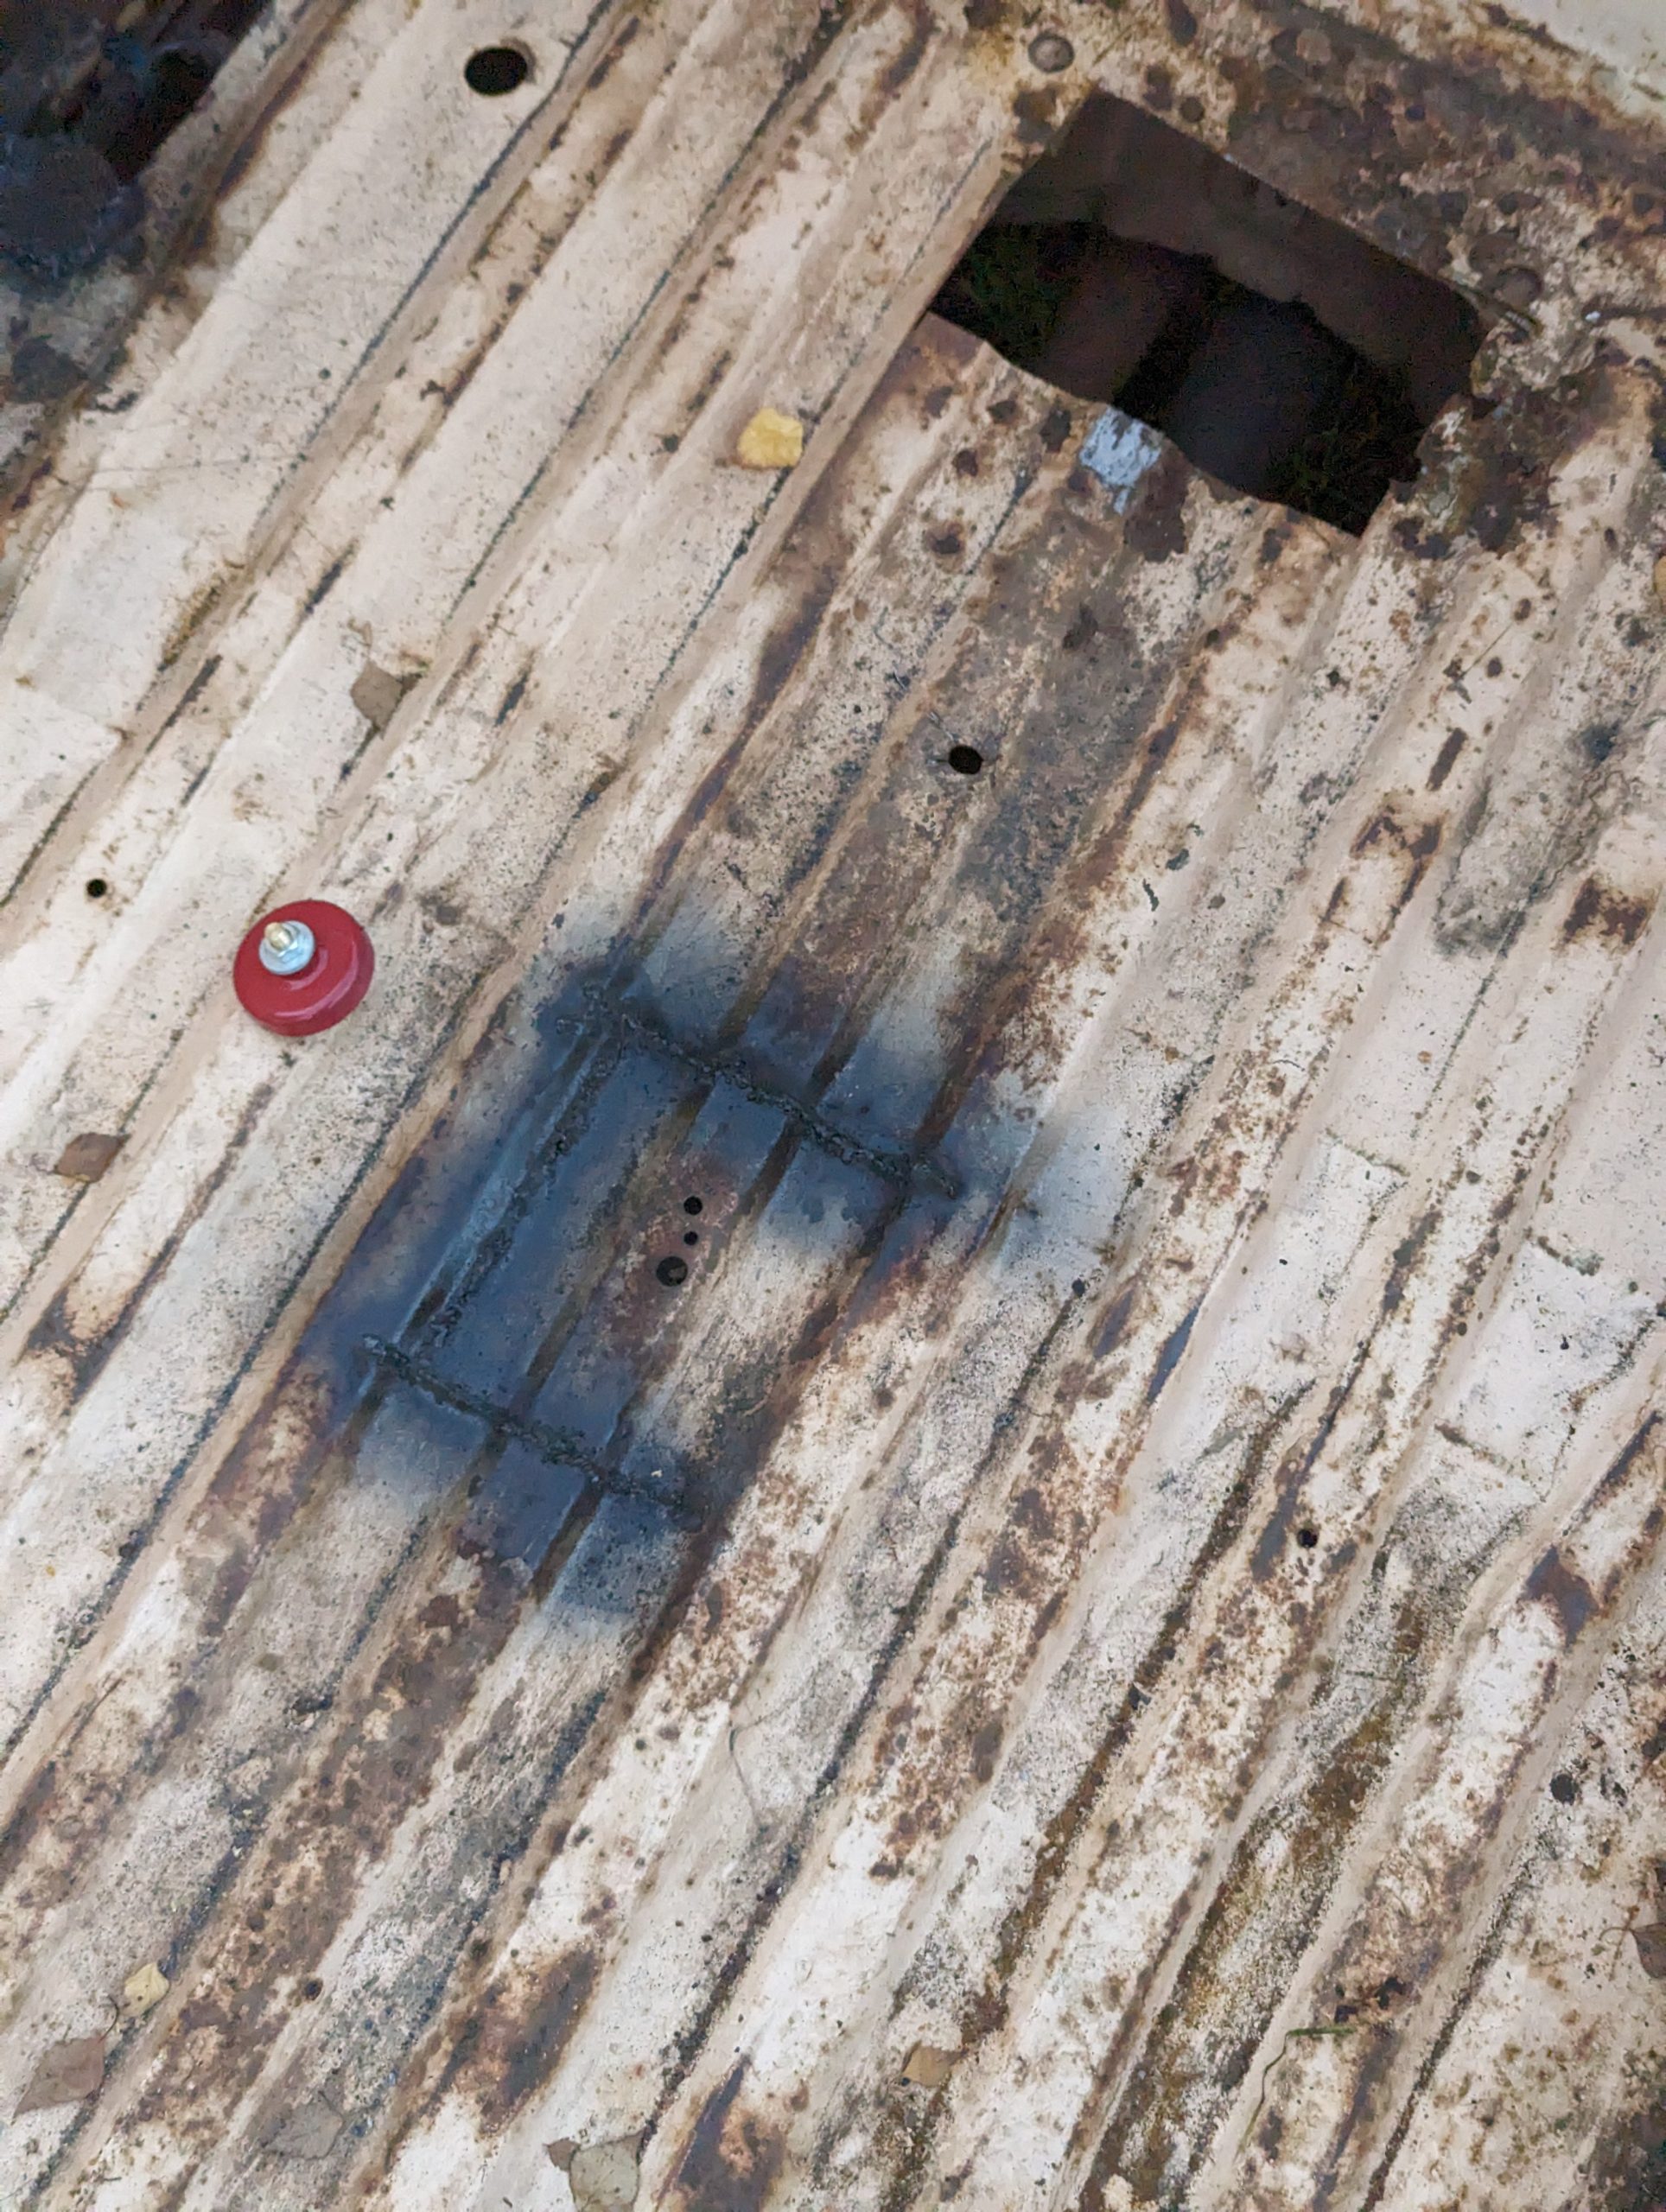
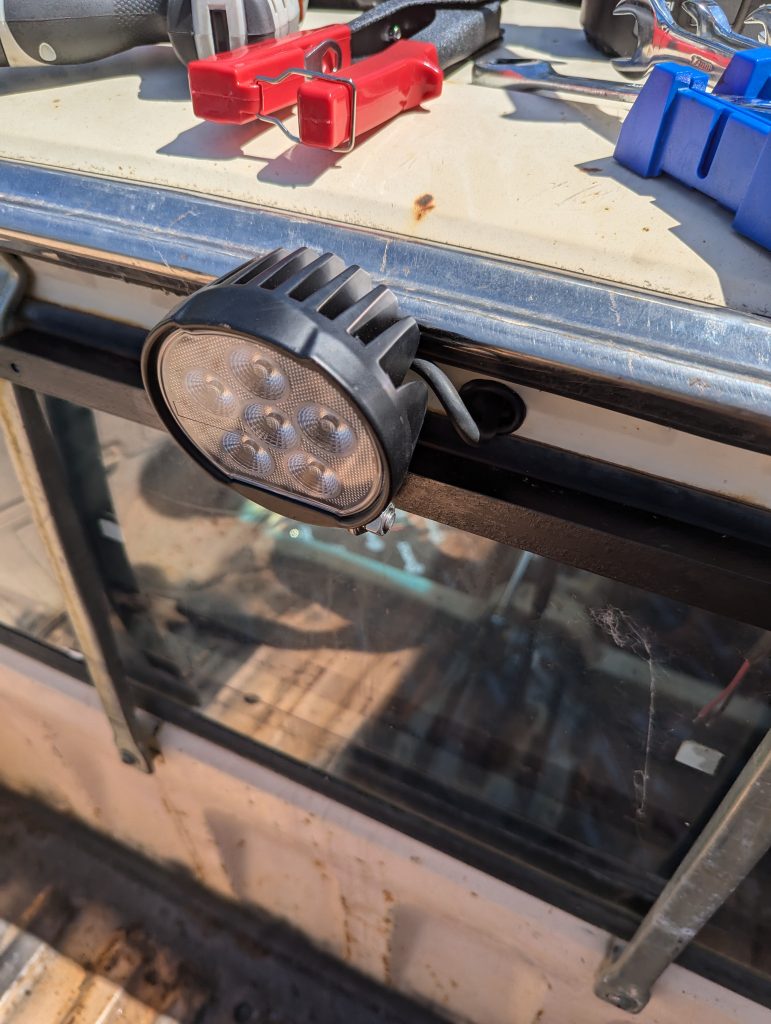
After that I painted the rusty old steel beam from the tray and re-riveted it to the tray, after that I drilled a hole for the backwards facing light and used a rubber gromet to seal the cable from the outside to stop it being cut and leaking water in to the cabin.
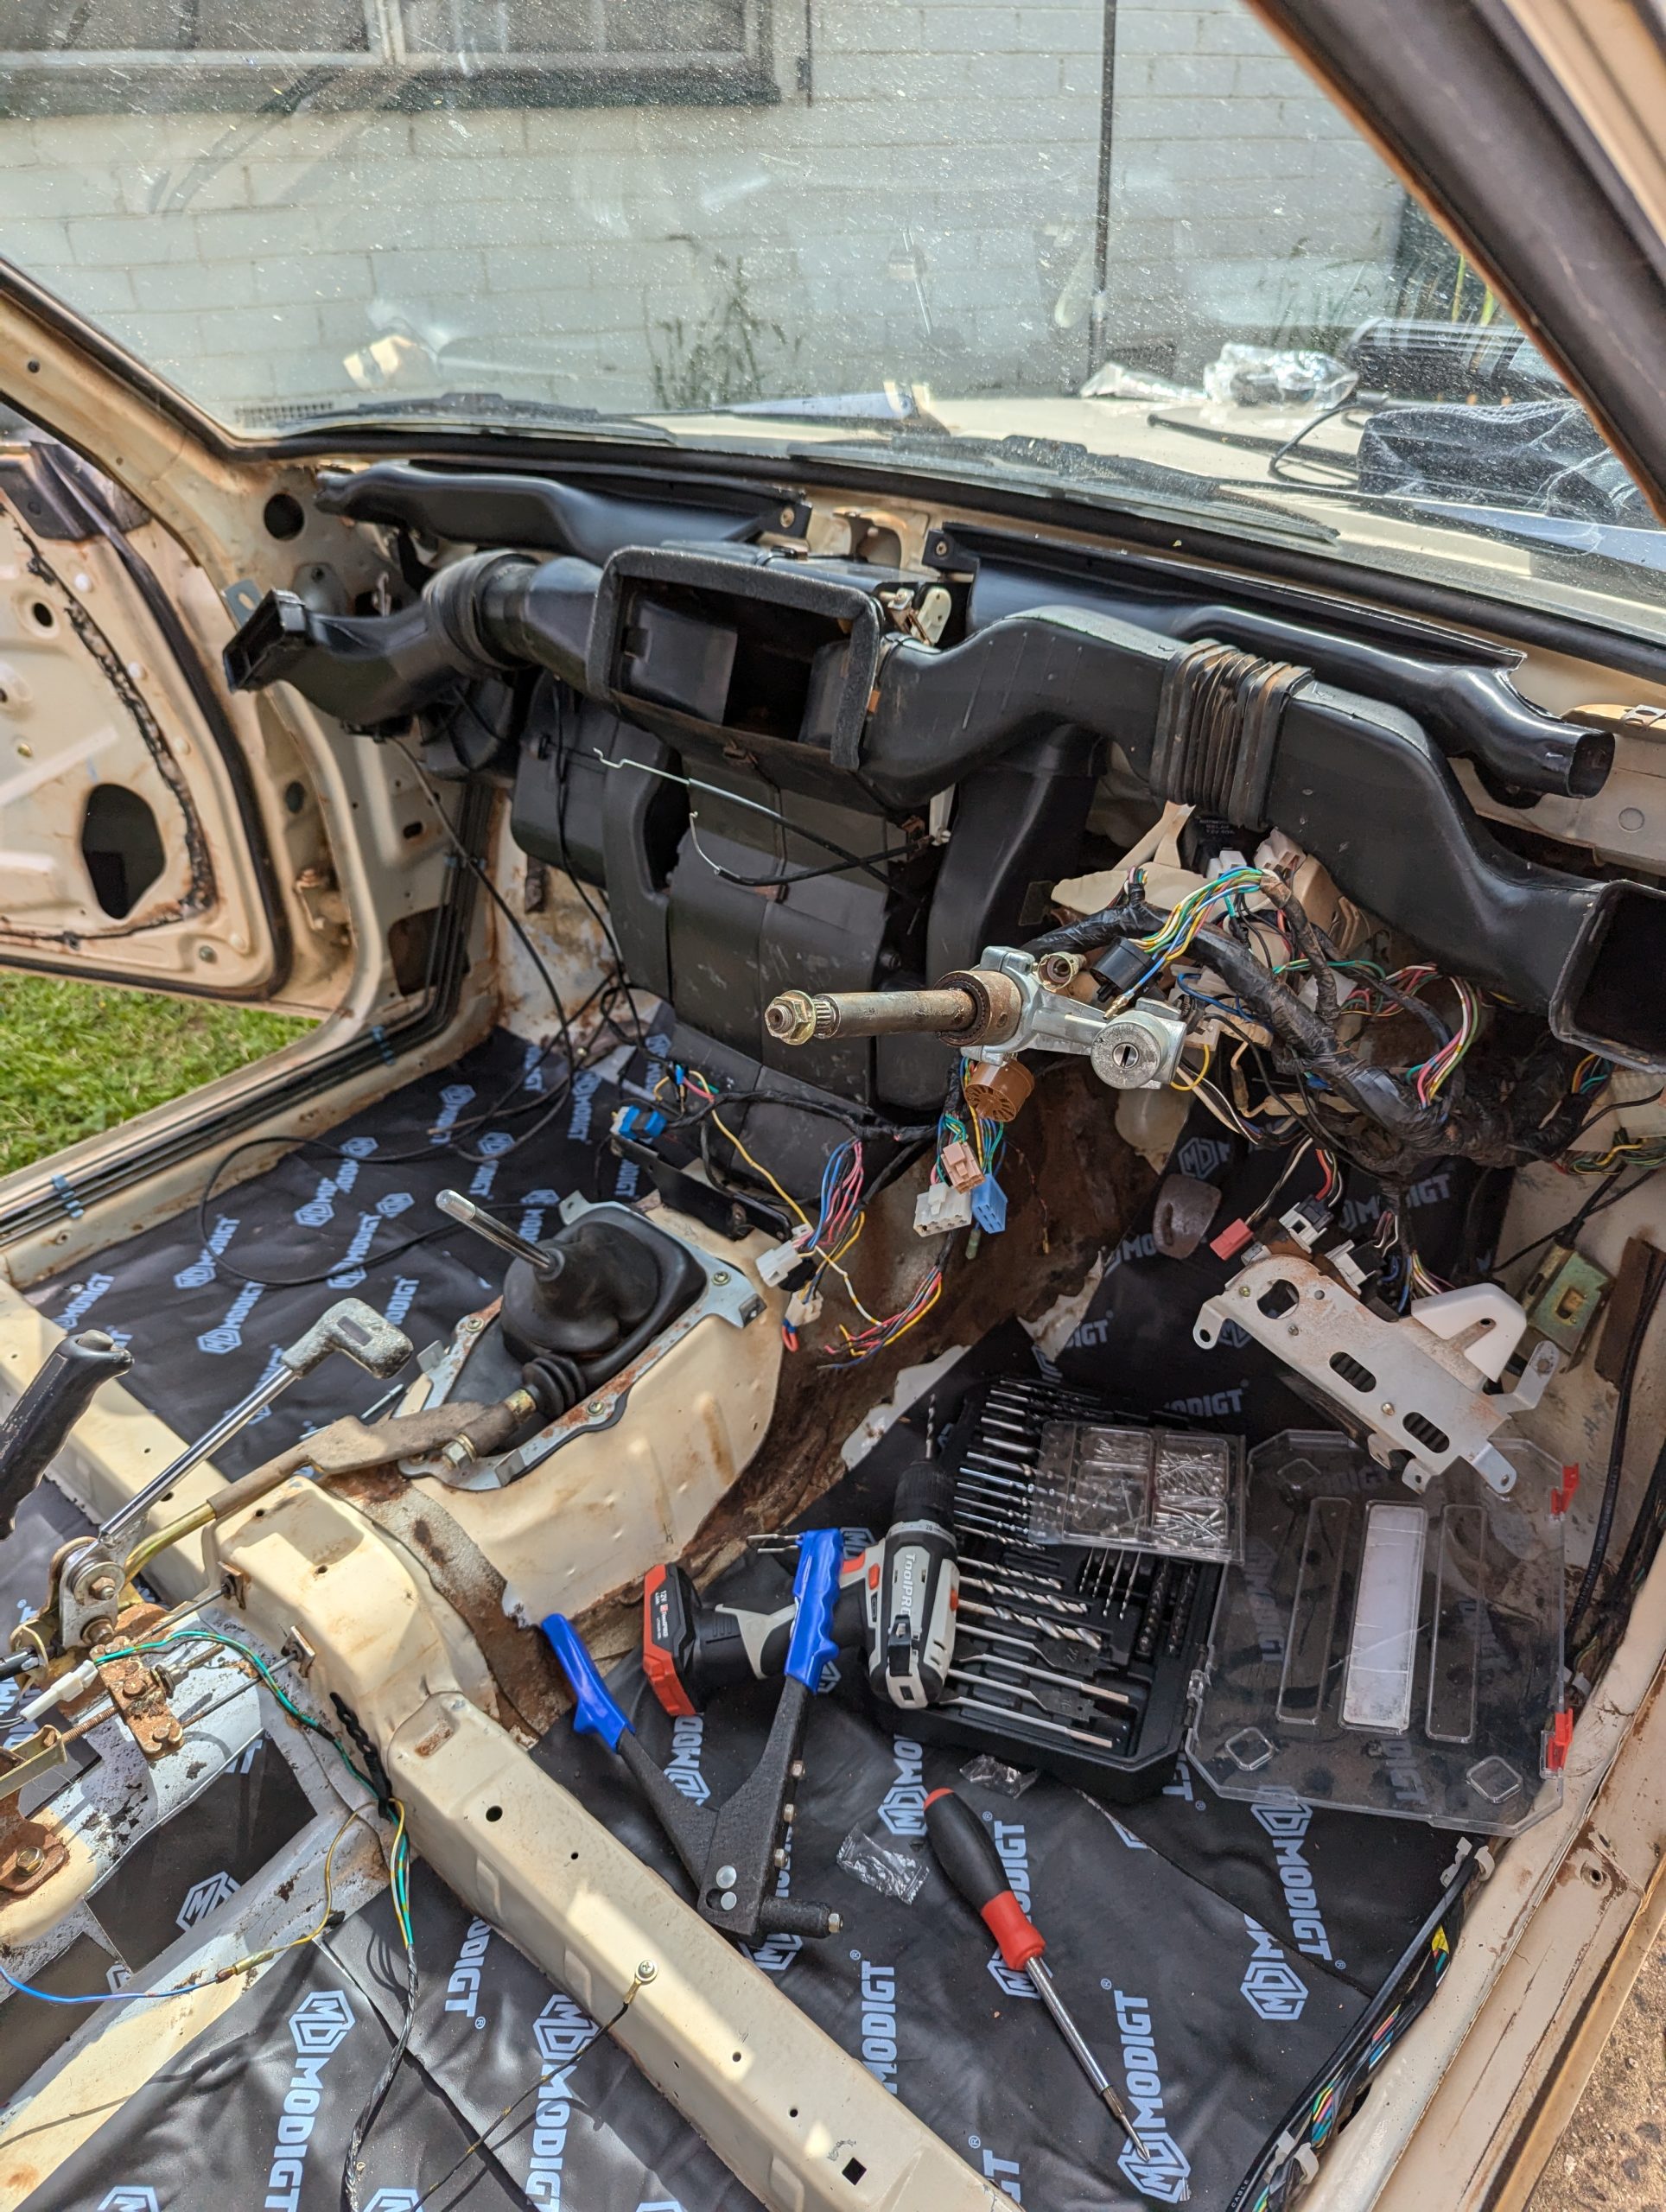
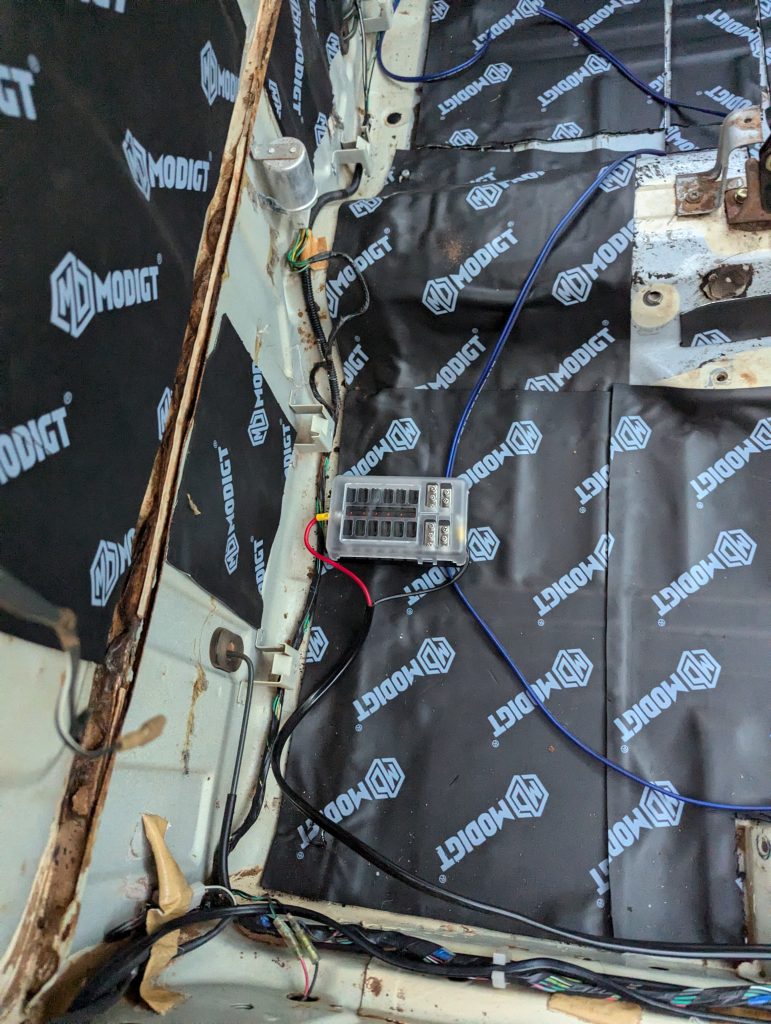
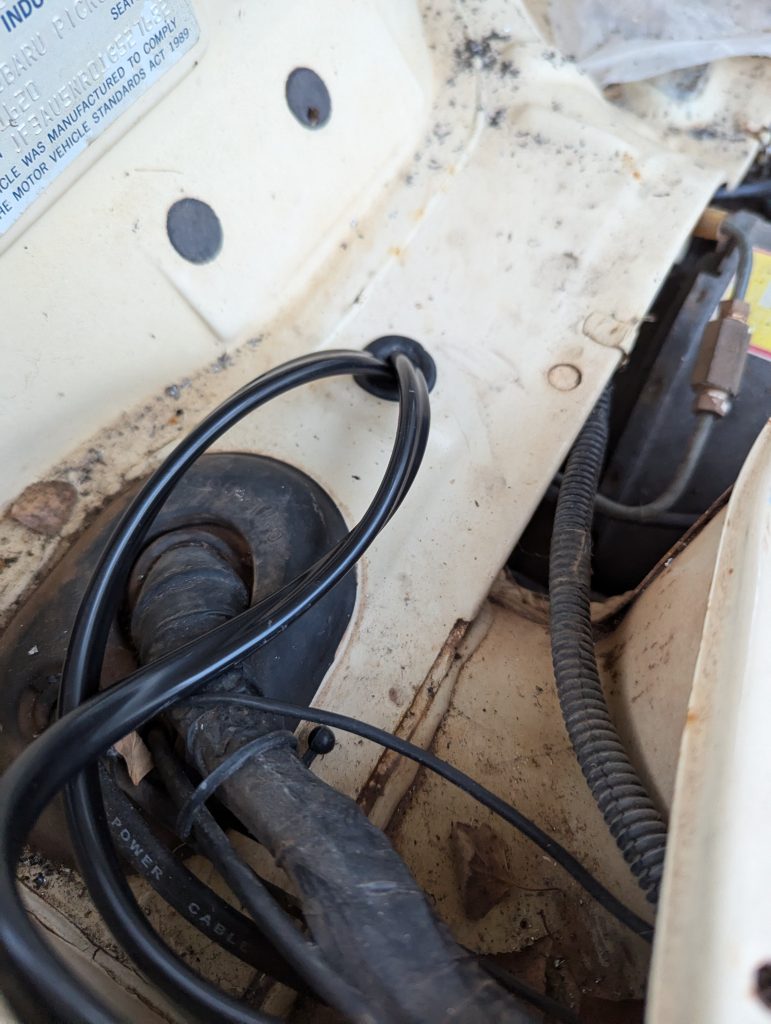
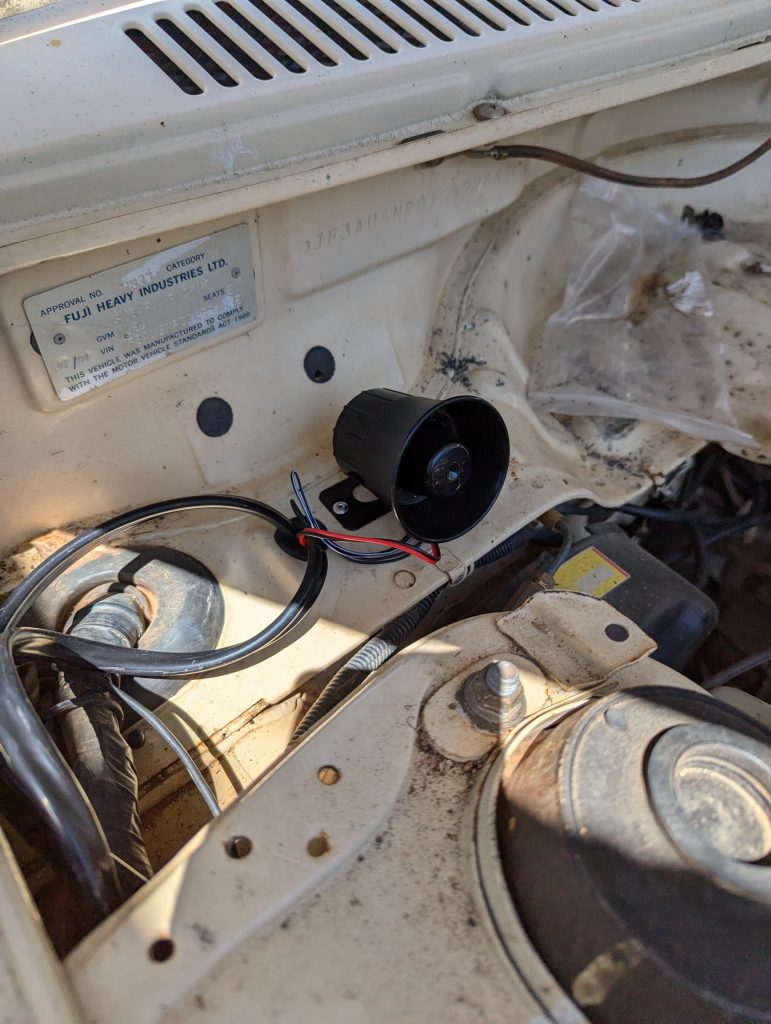
The next job was wiring the new fuse box and running the wire for the secondary battery to the back of the car, for this I used the dual core Navara wire as it is 50A and was the best value for money as well as it has extra thick insulation, during this I also took to opportunity to wire in the alarm, however I have to wait for the door lock relay Viper 415M until I can finish wiring in the alarm properly.
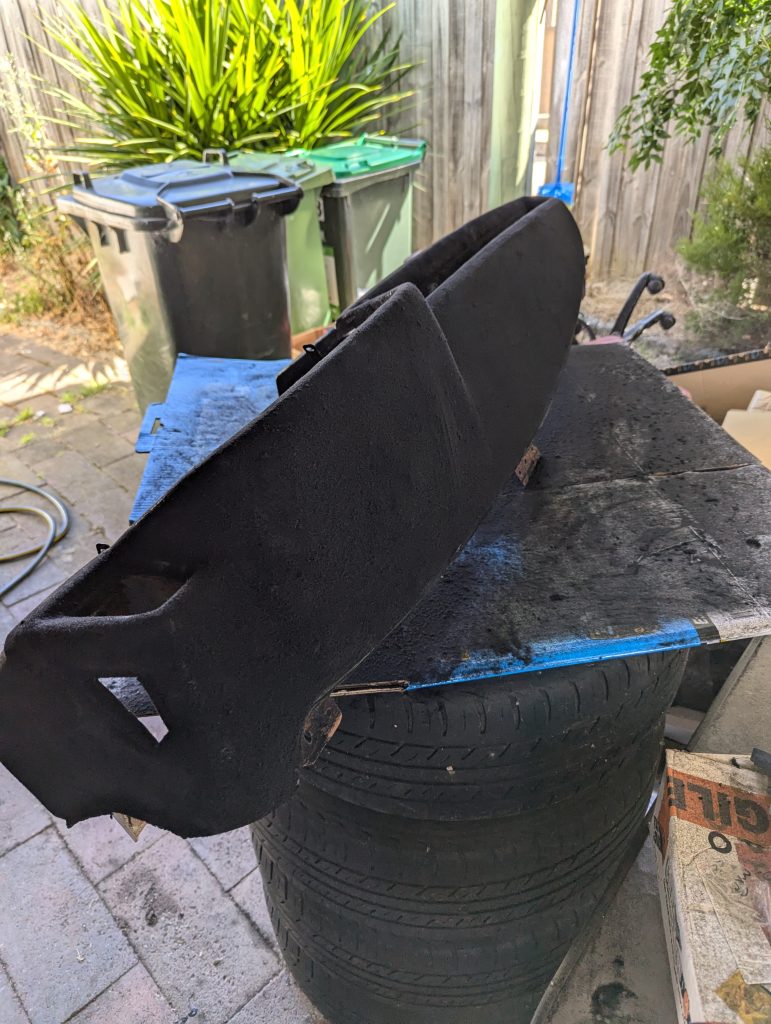
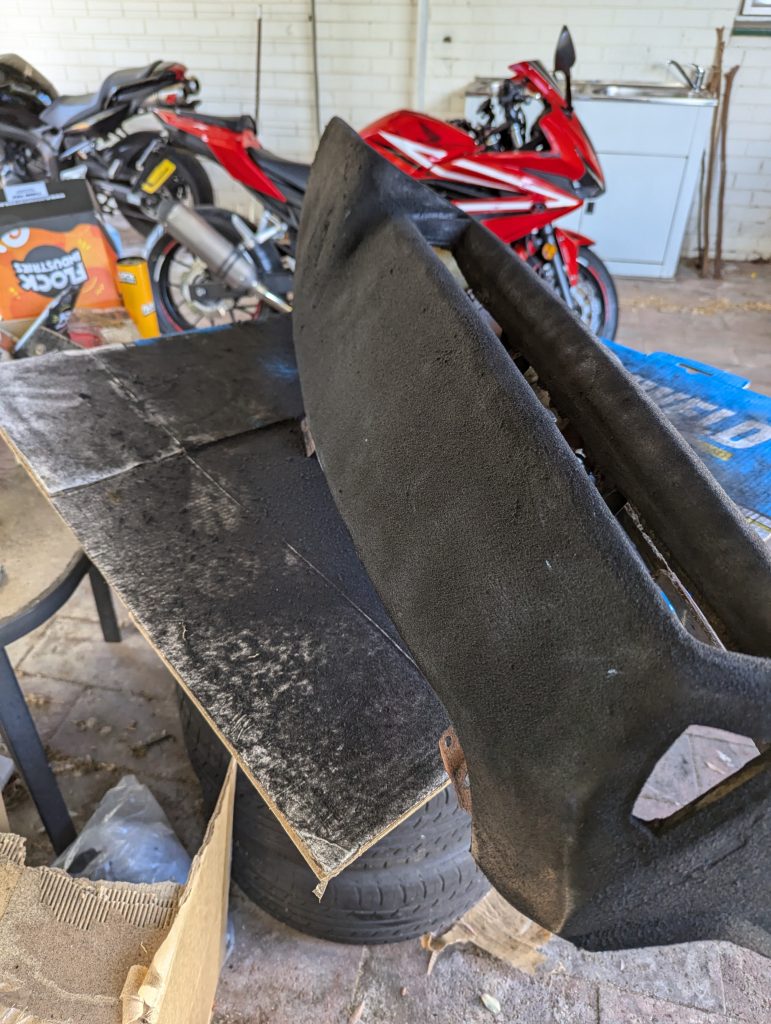
The last job I finished was I removed the air vents from the dash and prepared it to be flocked. I ended up using the Medium Flocking kit from https://flockindustries.com, it was super easy to use, I cleaned the dash with wax and grease remover then painted on the glue in small sections then used the flock tube to push the flock on to the dash, it took me maybe an hour to complete then I also used some spray adhesive to fix patches without flock. I will install the dash in the car after it cures.
Next Steps:
- Install the Dash
- Install the door lock relay
- Make a new radio fascia
- Connect the new sound system with subwoofer, and new fuse box to run this new equipment.
- Lay in the new carpet along with the repainted and reupholstered rest of the interior.
- Fix the broken side mirror
- Tint the windows
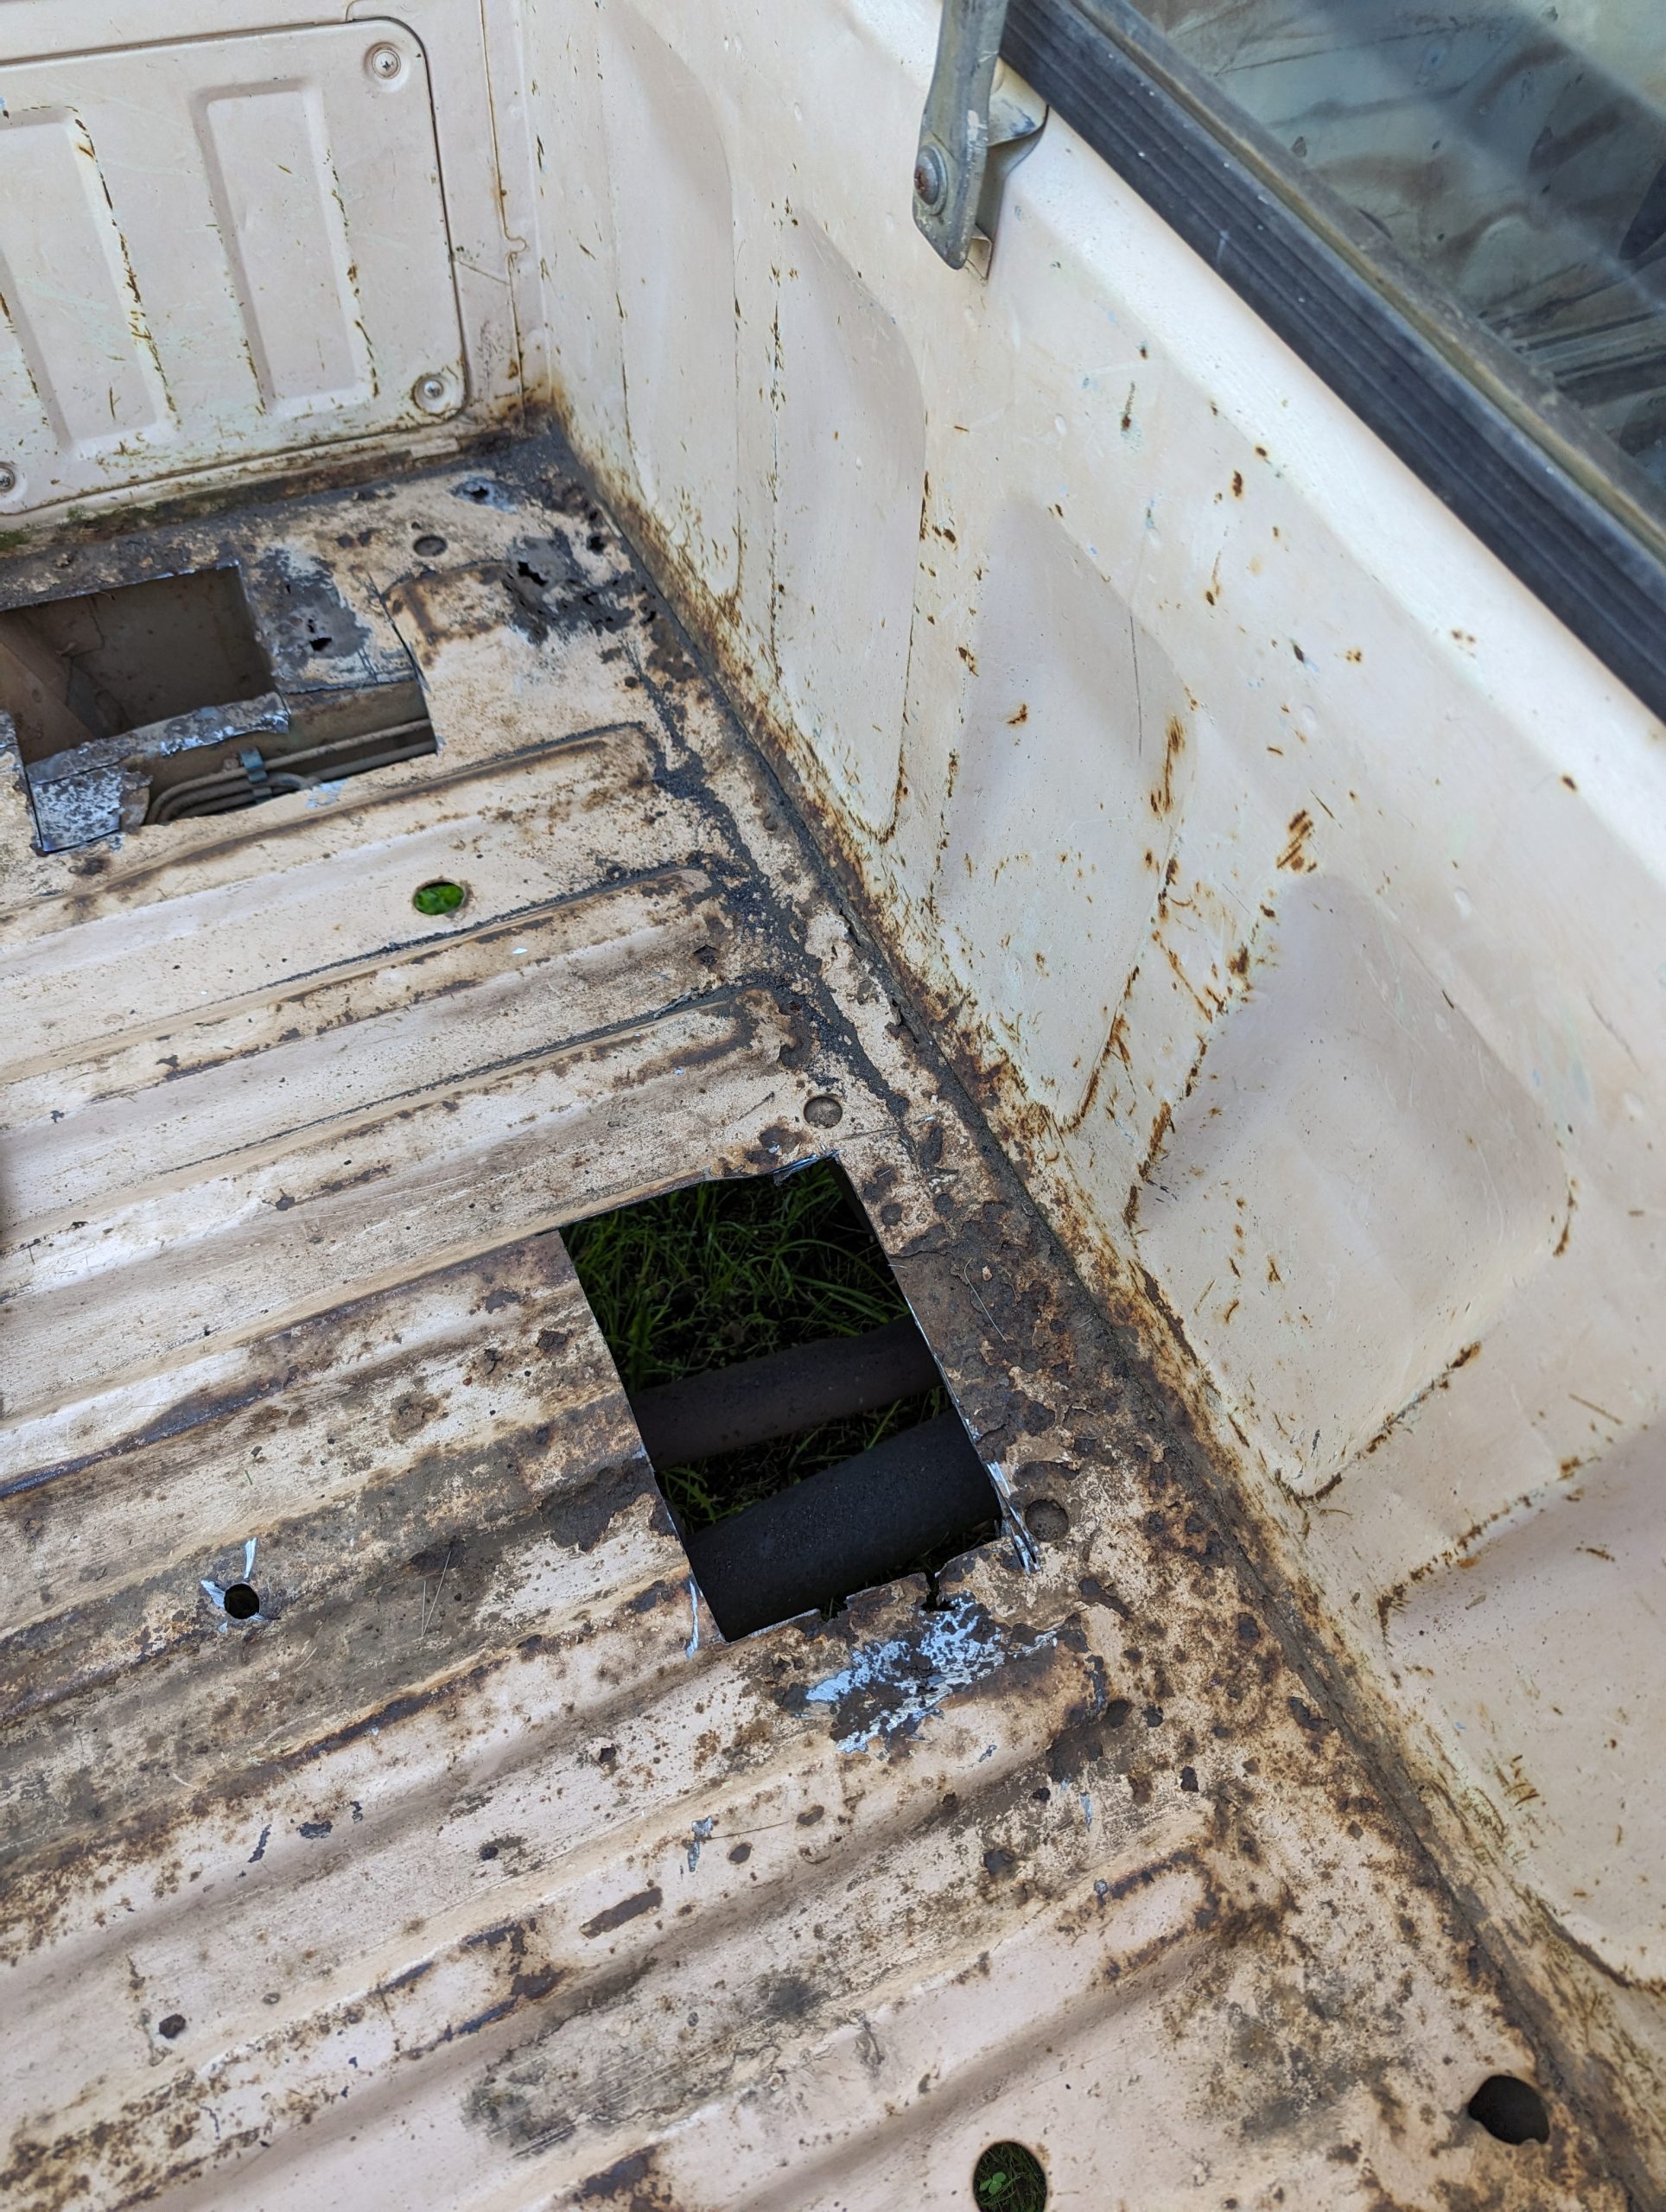
- Fix the last rust hole in the tray
- Fix the sloppy shifter
